We’ve been training a lot of people to look at embedded systems. The training is intensive, and it can be hard to remember all the commands and tools used. This is just a quick rundown of those tools with enough information to jog your memory!
Basic Commands
If we want to see the content of a file, the tools cat and less are the goto options. less paginates the file, and allows searching.

Piping (|) any command into less allows the output to be paginated. This is helpful with lots of the following commands.
The tool file takes a look at a file and guesses what is inside it. The method it uses is simple, but it will differentiate between a .zip and a .jpg when you don’t have an extension. It will also tell you the architecture an ELF binary is for.
When file says “data”, it means that it doesn’t know.


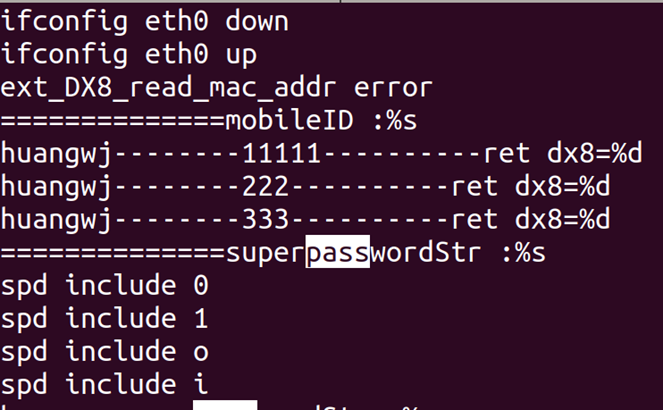
The tool strings will find any contiguous ASCII strings in a file and print them. It’s a good way to see what a binary does, and can uncover API endpoints, hardcoded passwords etc.
strings binary.bin | less
hexdump will show you a hexademical representation of a file. Useful for seeing structure. The parameter -C shows the ASCII representation as well.
hexdump -C binary.bin | less

Find is used for searching for files by name, permissions etc. The following command searches from the current directory (.) for files matching the case-insensitive name of *.sh
find . -iname ‘*.sh’
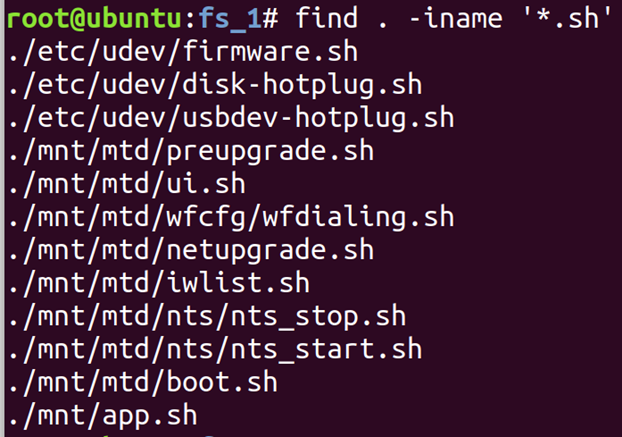
Running find without parameters is a quick way to see all of the files you have just unpacked from a firmware.
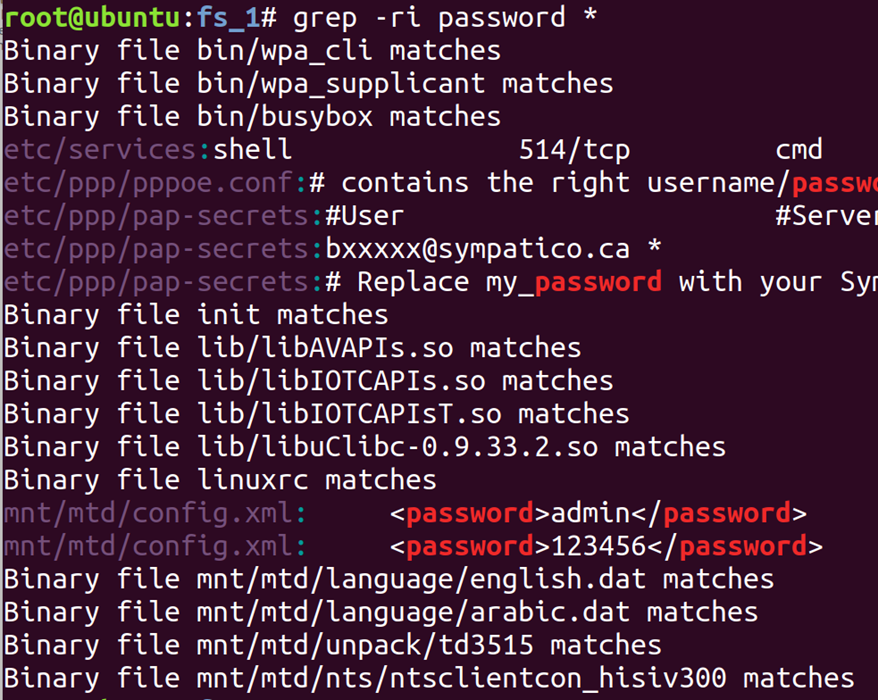
grep is used for searching the content of files. –r means search directories recursively, and –i means case insensitive search. Here I am looking for any file with the word “password” in it.
grep -ri password *
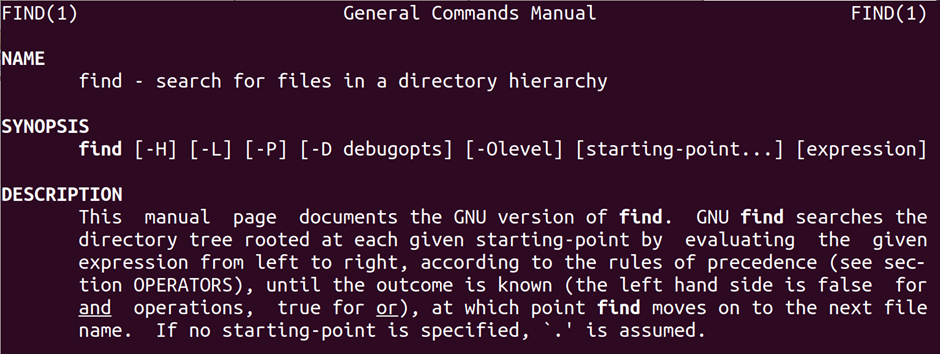
man <tool> will show you a help document for most tools on a Linux machine (but NOT embedded devices typically. For the most part, if you are struggling with a tool, google is quicker and easier these days.
man find
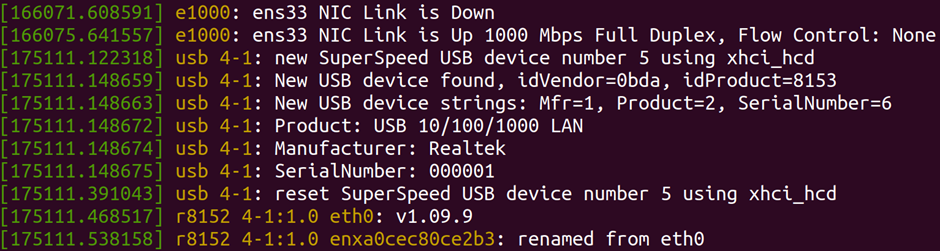
dmesg shows the message buffer of the kernel. On your laptop, this is where you can see if USB devices have enumerated correctly, and what they are called. On a device, the message buffer can contain a lot of useful info – memory maps, supported hardware, even superuser passwords!
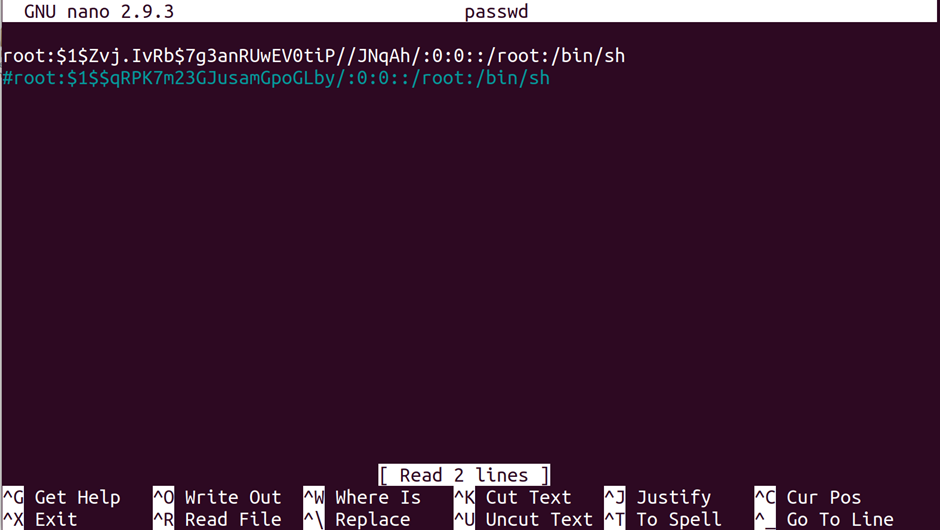
nano is a command line text editor that is simple and quick to learn. The keys to carry out actions are at the bottom of the screen – just press ctrl-letter. There are alternatives such as vi, vim, emacs, but if you are new to this, nano tends to be easier.
nano passwd
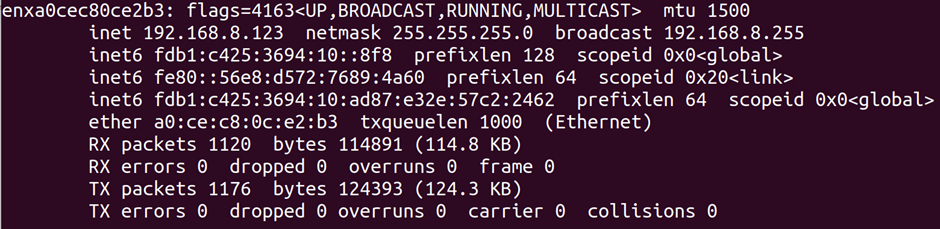
ifconfig shows the available network interfaces on a device, alongside their name and IP address.
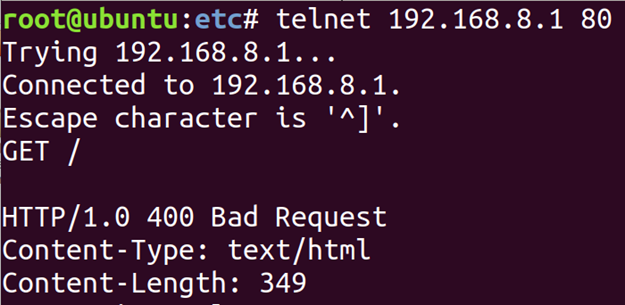
telnet is the telnet client. Normally telnet runs on port 23. You can specify the port after the address to connect to non-standard ports or other services. It’s perfectly possible to telnet to port 80 and issue a GET request for a web page, for example
telnet 192.168.8.1 80
ssh is the SSH client. Generally you will need to login with a username that differs to your account name, which you provide as follows:
ssh [email protected]
You can also specify an alternative port:
ssh [email protected] -p 1022

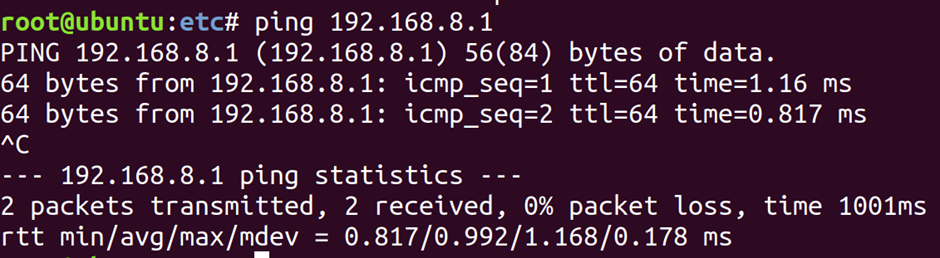
ping will send an ICMP ping to an IP address, which is a basic way of checking that it is responding. A device doesn’t have to respond to pings though.
ping 192.168.8.1
md5sum and sha256sum give you the hash of a file. It’s a quick way to check if two files are the same. MD5 is not cryptographically secure, but it suffices and is the lowest-common-denominator of hashes.

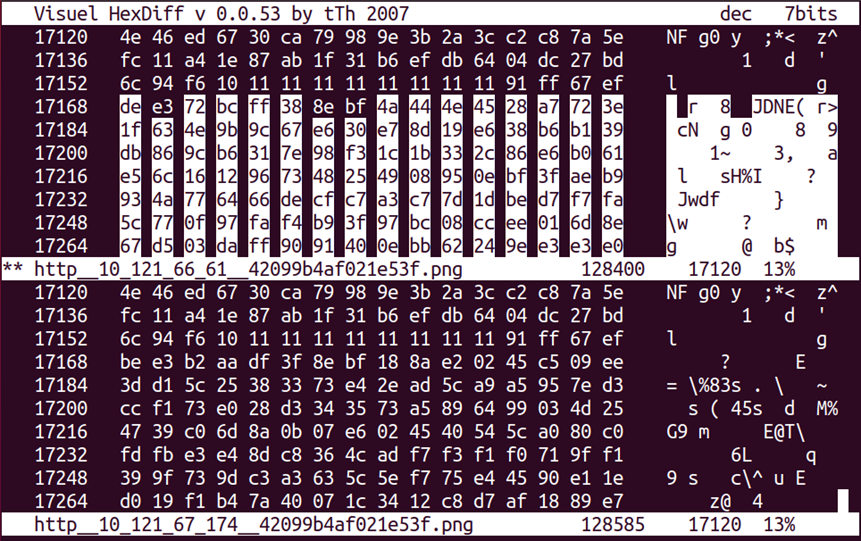
hexdiff allows us to compare to files at the byte level.
hexdiff file1.bin file2.bin
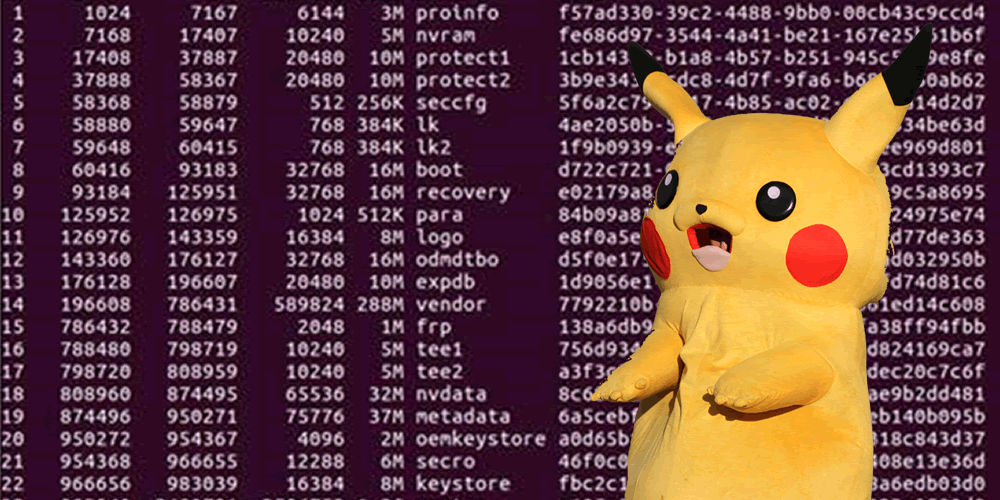
dd allows us to take an input file, select parts of it, and write to an output file. This is often used for carving up a flash memory image into component parts
dd if=rootfs-3520dv300 of=jffs2.bin skip=1 bs=64

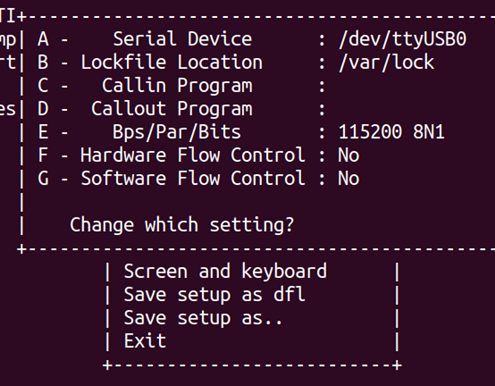
minicom is the serial terminal I use, but screen and others are available. Advantages of minicom include the menus and ability to easily capture to file. There is a learning curve – press CTRL-A then Z to see help. Provide the device you are connecting to after the -D parameter – it will normally be /dev/ttyUSB0 or /dev/ttyACM0. Remember that, by default, hardware flow control is turned on – go to the options, turn it off, and save as default.
minicom -D /dev/ttyUSB0

Binwalk
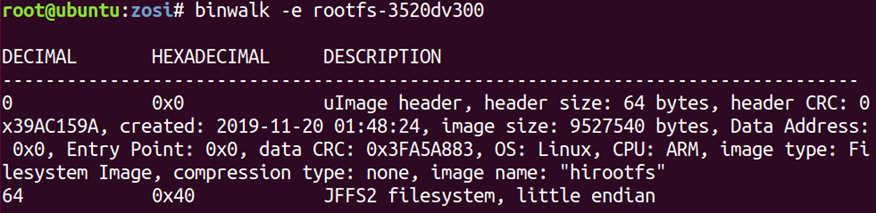
binwalk https://github.com/ReFirmLabs/binwalk is a tool used to examine and extract flash images and firmware files. It uses simple signatures and attempts to unpack file systems when it finds them. It is prone to showing false positives, but these are generally easy to filter out.
Always install binwalk from Github – the package versions in Ubuntu and Kali are missing a lot and out-of-date.
binwalk -e file.bin
It can also be used to examine the entropy of an input file, which can help you determine if something is compressed or encrypted.
binwalk -E file.bin

Flashrom
flashrom https://www.flashrom.org/Flashrom is the tool that can be used to read SPI flash chips using a multitude of adapters: Raspberry Pi, BeagleBone Black, Bus Pirate and so on.
flashrom -p buspirate_spi@dev=/dev/ttyUSB2,spispeed=1M -r firmware.bin

SniffROM
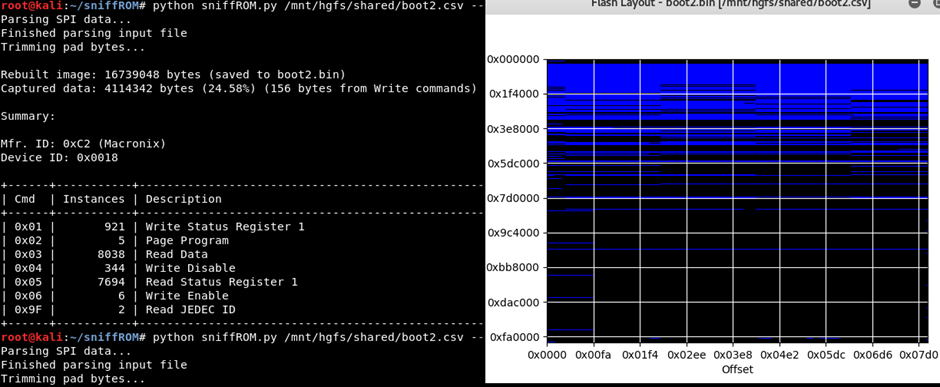
Using a logic analyser, we can sniff the SPI bus as a flash chip is used. SniffROM https://github.com/alainiamburg/sniffROM takes this data and rebuilds it into a binary file.
It can also show you which portions were read and which were written, alongside a timeline of when they happened.
Uboot firmware dumping
If you can get into the Uboot console – either by keyboard escape or glitching the data lines – you can use the md command to display memory.
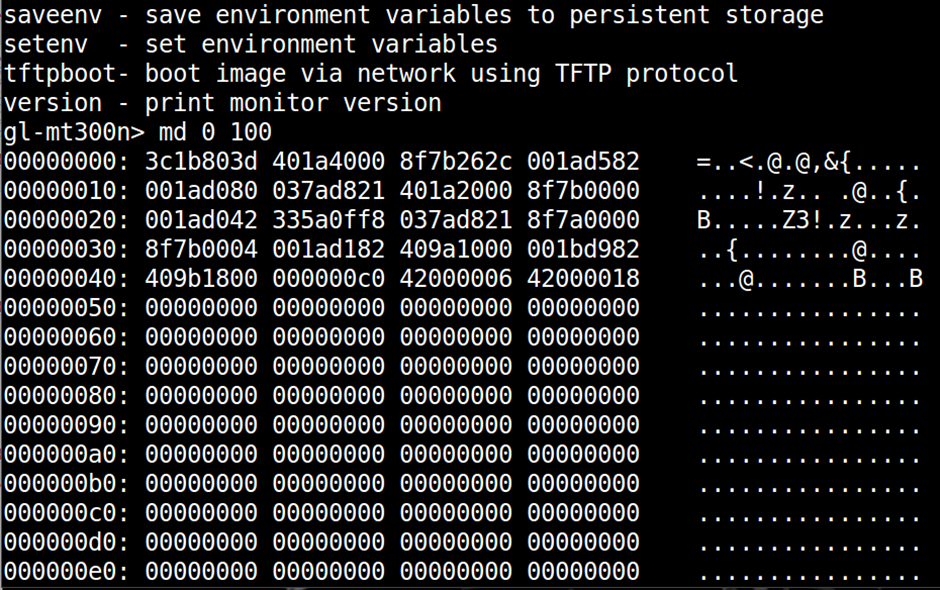
The output from this can be logged to file (using CTRL-A, L in minicom) and then parsed using uboot-mdb-dump https://github.com/gmbnomis/uboot-mdb-dump to give you a binary. This is an easy and low risk way to dump firmware when you have a serial console.
Nmap
nmap is a network scanner. It allows you to:
- Find the IP addresses of devices on your network
- Find which ports are open on the devices
- Work out what those ports are doing
An entire blog post could be written about nmap, but the most commonly used commands are as follows.
Ping scan a range to find devices that are up:
nmap -sn 10.42.0.1/24
Port scan a device with standard settings – top 1000 ports, quite fast, no fingerprinting
nmap 10.42.0.220
Port scan a device and fingerprint and run scripts to identify services
nmap -A 10.42.0.220
Port scan all ports, with verbose information to screen
nmap -vvv -p- 10.42.0.220
On-Device Enumeration
Once you have a shell on a device, you will need to work out what it is doing. Embedded devices are varied and limited, so not all of these commands will work.
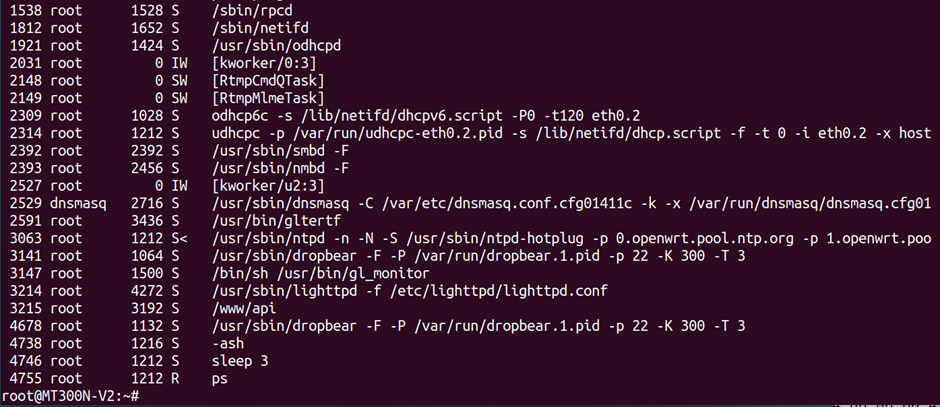
ps is used to show the running processes on a device. This includes the user name and parameters passed, which can be very helpful in working out what is running.
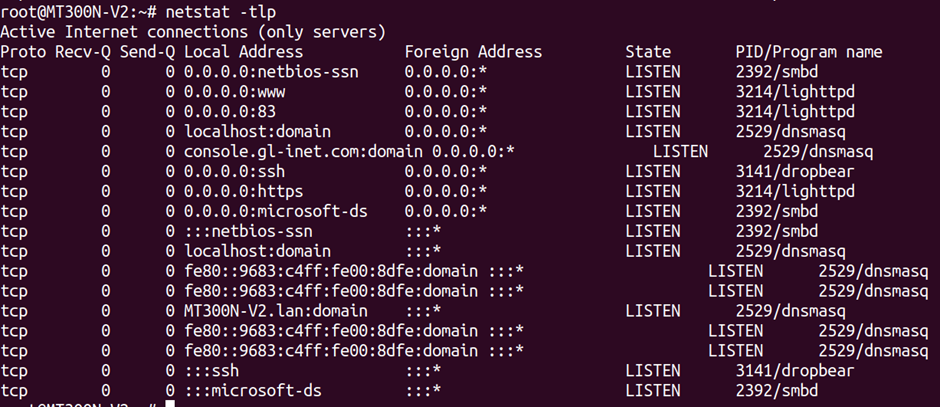
netstat shows network connections – both inbound and outbound. You can sometimes see the associated process, allowing you to work out which binary is driving a given service.
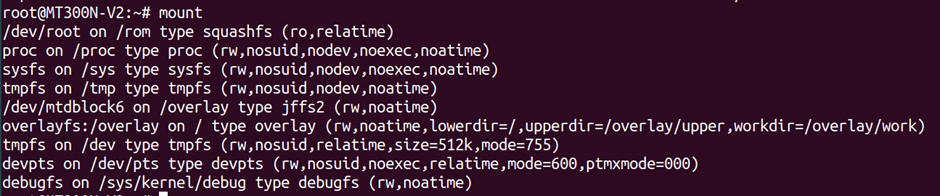
mount shows you the currently mounted partitions on the system. Helpful when reverse engineering flash images and working out where you can write to on a constrained system.
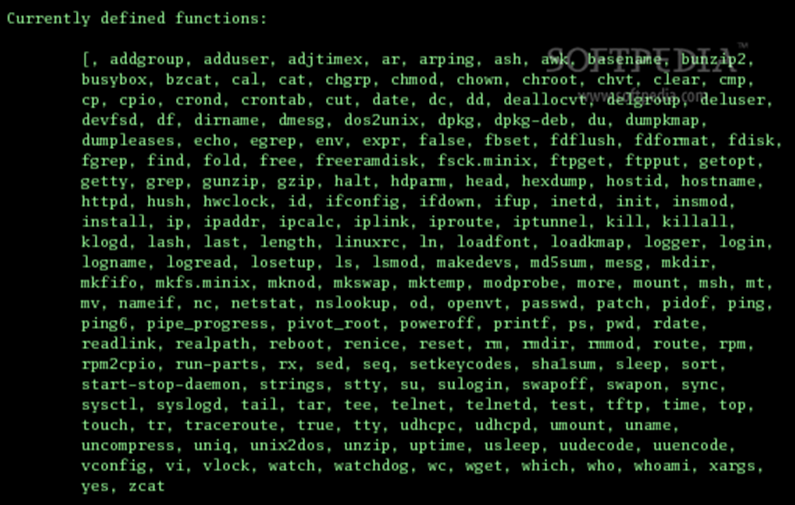
busybox is a multi-purpose binary that runs many of the commands on embedded Linux systems. If you run busybox by itself, you will see which commands it supports.
Wireless AP
Often, we need to setup a wireless access point and act as a router. This lets us intercept and tamper with traffic from devices and phones. It’s also convenient to have access to all our tools – iptables, Wireshark, Burp, nmap. So we normally use a USB WiFi adapter and use our laptop as a router.
By far the quickest way to do this is with create_ap. A single command will setup an access point, DHCP server, and DNS.
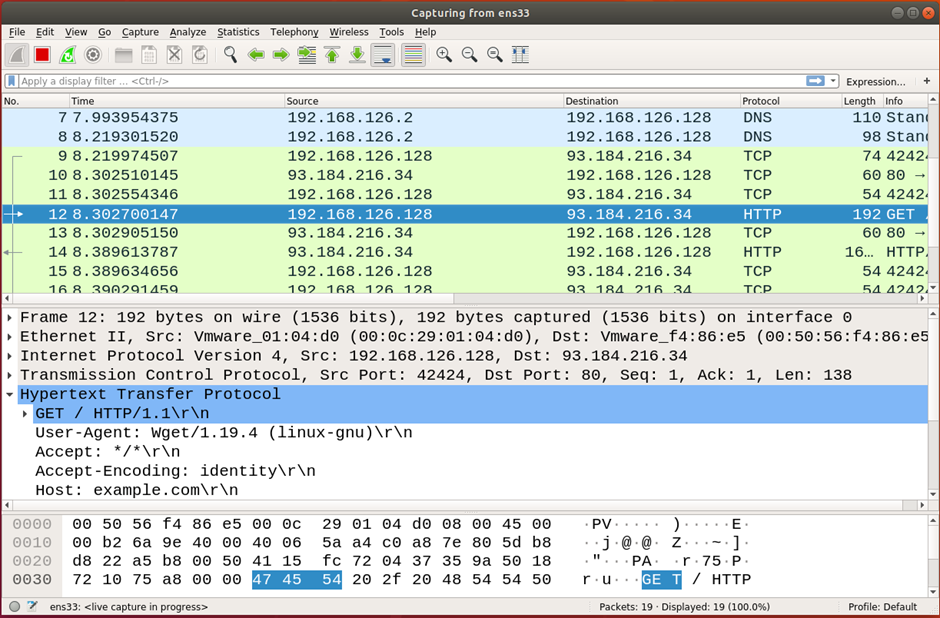
Wireshark
Wireshark is a graphical tool that will sniff the traffic on a network interface and display it. As with nmap, we could write a lot about this. Open it up – as root – and have a play about!
Online/browser tools
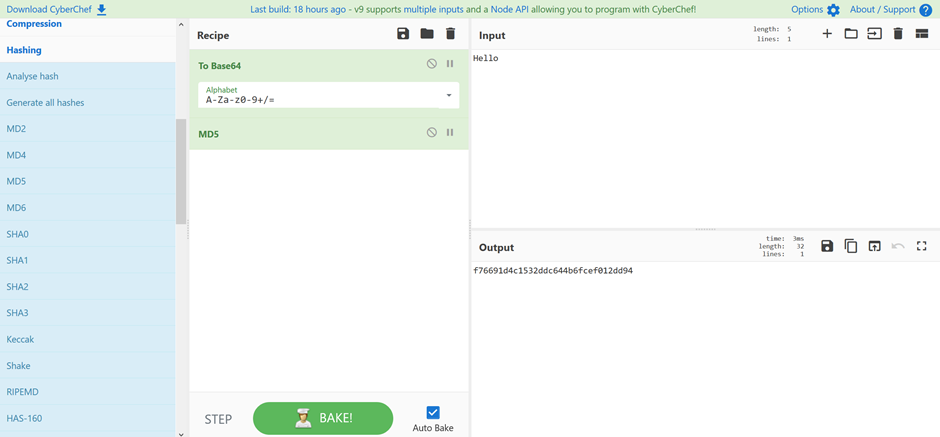
Cyberchef https://gchq.github.io/CyberChef/ is a brilliant tool developed by GCHQ, and described as a cyber Swiss army knife. You can convert, encrypt, shift, hash, etc. It is all done in-browser, so no problems with leaking data.
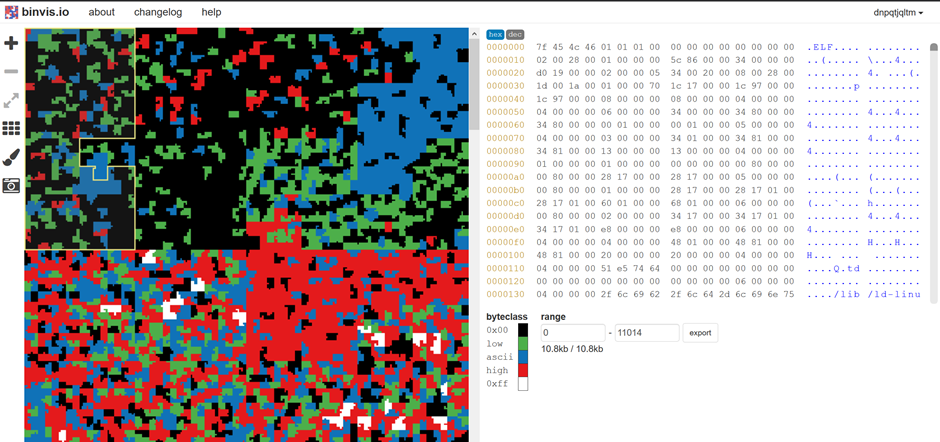
Binvis.io http://binvis.io is a helpful tool to see the structure of files. You do upload the file to them though, so watch for leaking sensitive data.