


Over the last couple of years, we’ve run many courses on embedded device security. The focus is often defensive, but all the courses have an aspect of offensive: hacking demonstration and real devices so that you can understand the mindset of an attacker. To hack devices, you need tools. And the proper tools are a massive help.
Here are some of the tools that you will need to get started with basic hardware testing. Some of the links below are to commercial sites, mainly because product pages are hard to find! We order a lot from Farnell – decent prices and next day delivery.
Multimeter
A multimeter is essential. Most of the time, you will be measuring DC voltage and using the continuity test. Current, capacitance, frequency, temperature etc. are all secondary.
In terms of accuracy and resolution, generally we aren’t worried if it’s 3.314V or 3.323V. Both are 3.3V logic.
The continuity tester should be loud, fast, and ideally latching. A lot of meters are quiet, scratchy, and slow. Unfortunately, there are no specifications to tell you if it’s good or not – you’ll need to check yourself or on YouTube reviews.
To put some meters in continuity mode, you need to press a button each time you turn them on. This is a minor annoyance but will result in you using it in the wrong mode.
Avoid meters that share the same port for voltage and current. Turning the dial from V to A will change the meter from an open circuit to a short circuit – it’s surprisingly easy to do.
In terms of safety, a lot of Amazon and eBay meters are poor. They may state they are safe to given standards, but don’t contain the required safety features. If you are going to be working with mains voltage, cars, or EVs, then buy a reputable brand such as Fluke, Amprobe or Brymen.
The meters that we use are Brymen BM235. They are around £80. They have been reliable, usable, and the batteries are lasting well.
Probes
The probes that come with multimeters are generally quite large and blunt. They are designed for big things, not reverse engineering PCBs.
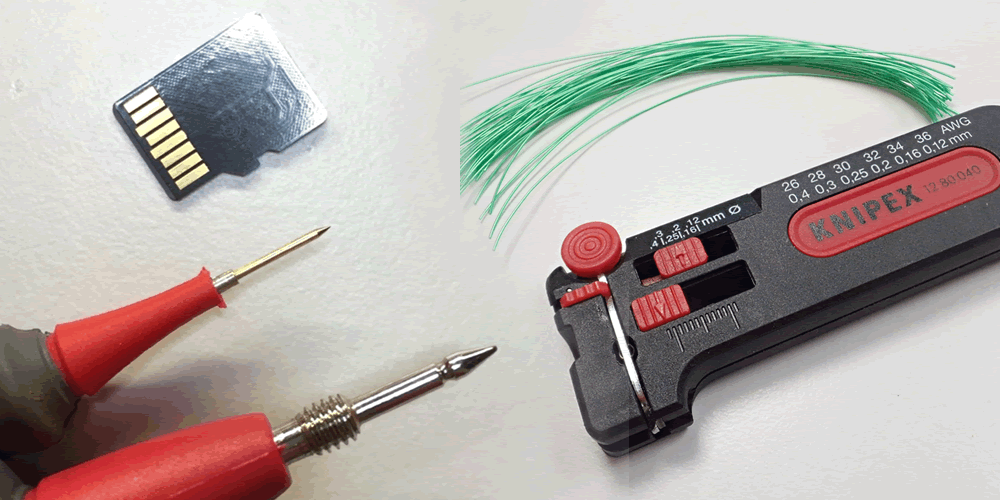
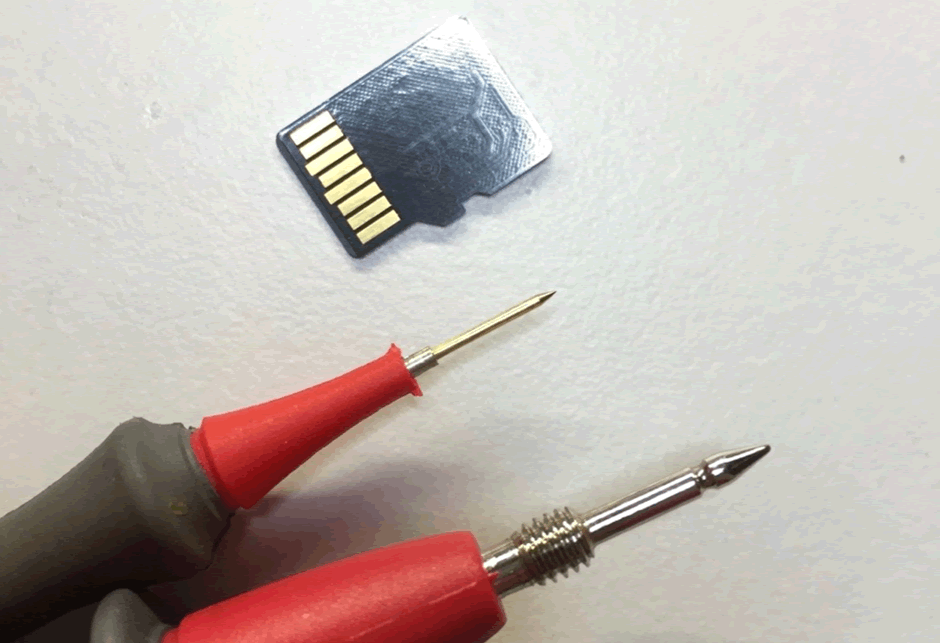
One of the most helpful accessories you can buy are Pomona 6275 micro probes . These are needle-like probes that make working with microcontrollers and PCBs much easier.
Firstly, they are tiny. You can easily touch a single pin on a 0.5mm pitch package.
Secondly, they are sharp. You can push them clean through solder mask into traces.
On the downside, they are only rated to 70VDC and 3A, but this is fine for most work.
You can buy them with a range of interchangeable tips – I like the stainless-steel ones, but the sprung gold-plated ones are also good.
SOIC clips
A common task is sniffing or interacting with SOIC8 and SOIC16 SPI flash chips. To do this without soldering or removing the chip, you can use special clips.
We strongly recommend the use of the Pomona clips. There are cheaper knock-offs, but the small plastic hooks fail very quickly.
Test clips
When you need to monitor signals on a board, it’s common to use test clips.
There are a massive variety of these on the market, of varying size and quality.
The best ones – that are readily available – are EZ-Hooks XKM. The cheapest option is to buy black ones, but they also come in rainbow packs. The different colours make working with complex boards far easier.
There is a good comparison of the different options here. https://sigrok.org/wiki/Probe_comparison
Logic Analyser
You will need a logic analyser before long. They allow multiple digital signals to be monitored at the same time.
For reverse engineering work, USB logic analysers are ideal. They allow very long traces to be gathered, and the data can be easily navigated and post-processed.
For professional work, we use Saleae’s Logic Pro 16 . These aren’t perfect, but they have a lot of positives:
- 16 channels is generally enough for the work we do
- Sample rate is fast enough for SPI, serial, USB, CAN etc.
- Safe to use for +/-25V – including automotive
- Analog inputs can sometimes be useful
On the downside, they are almost £1k.
For hobbyists, the Hobby Components logic analysers cost around £10 and can do an awful lot. The low sample rate is prohibitive for professional work.
JTAG Adapters
Connecting to JTAG allows a deep level of access to the processor and flash memory on a device. Although JTAG is a standard protocol, the processor you are working with needs to be supported by the software.
We have found that Segger J-Link provides the widest range of support for ARM processors, including handling code readout protection. It’s just one of those tools that works.
The downside is the cost.
OpenOCD and a low-cost JTAG adapters are OK for hobbyist work, but there are too many quirks and unsupported chips for professional work.
USB Serial Adapters
Connecting to serial consoles is a bread-and-butter task. Nearly all of the time, a cheap 3.3V USB adapter will do the job. CP2102, FTDI, PL2303, whatever, they are all well supported. Buy them in bulk – you will lose and frazzle them.
USB Ethernet
It’s helpful to have dedicated Ethernet connections for testing. The best way to do this is with USB Ethernet adapters. This is especially helpful when using a virtual machine – you can pass the USB adapter through to the VM and have it handle the networking entirely.
Realtek 8153 adapters seem solid for USB3.0 and Gigabit.
It’s always worth having an older USB2.0 adapter with an old chipset. Why? A lot of embedded Linux devices have drivers for these. A new Ethernet interface is a new attack surface – you can often plug USB Ethernet into a car and get access to telnet and SSH!
ASIX AX88772 adapters have wide support and are still available.
USB Hubs
We’d always recommend using a USB hub when doing any testing. Modern laptops often only have a couple of ports, and you will always need more. A hub will also provide a degree of electrical protection to your laptop.
The Sabrent switched hubs are excellent – the little buttons allow you to power cycle the USB device without unplugging it.
Wire and Strippers
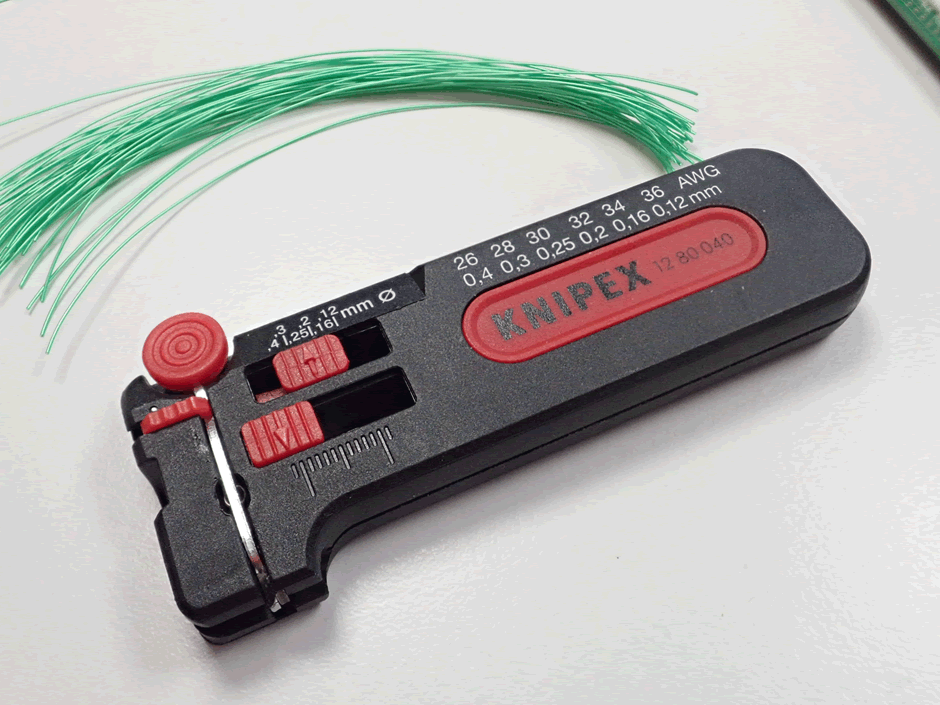
This is very much personal preference, but most of us use 30AWG insulated wire (get PVDF insulation, not EFTE – it’s cheaper and easier to strip). It’s great for tacking onto PCBs and chips and comes in many colours. You need to strip the ends, and most wire strippers don’t go this small. We use Knipex 12 80 040 https://uk.farnell.com/knipex/12-80-040-sb/mini-wire-stripper/dp/1779812 for this – they are expensive, but save a lot of time.
Some people prefer magnet wire. The insulation burns off as you solder.
Solder
As all our work is reverse engineering – and not production – we have the luxury of being able to use solder with lead. It is so much nicer to work with.
You want either 63/37 or 60/40 leaded solder. We’ve discussed soldering at length in another blog post. https://www.pentestpartners.com/security-blog/if-you-arent-soldering-you-probably-arent-testing-iot-thoroughly/
Chip Quik
You may need to desolder devices from time-to-time. A special low-melting point solder called Chip Quik makes this almost trivial. Melt Chip Quick all over the pins, mixing it with the existing solder. Keep the alloy molten, and lift the chip off. Simple.
Conclusion
Hopefully some of the tips above are helpful. Making sure your basic tools are reliable and effective makes work so much quicker and easier. Sometimes these tools cost a bit more, but the time saving on paid work is huge.


