


TL;DR
- In the final part we are using my ideal BLE hacking kit! This is one Sniffle dongle and one Nordic dev kit (DK)
- Nordic dev kits can be used as an alternative to Sniffle.
- These dev kits can also run a really nice interactive Bluetooth shell
- You can script interactions with the Nordic shell or write your own RTOS applications as you learn and progress
Introduction
If you haven’t read the previous posts, I would recommend them as a primer to the devices, BLE and what we’re doing.
In part one, we made a low-cost key finder beep by capturing and replaying BLE traffic, covering GATT, handles, and characteristics. In part two, we stepped up the tooling, sniffing traffic with a reflashed Sonoff Zigbee dongle and a Nordic USB dev board, then interacting with characteristics more systematically.
In this final part we do the same, with one change… we are going to use a full fat nRF Development Kit instead of the USB dongle. We set it up, capture and inspect traffic, and drive the tag from a simple shell, with notes on pitfalls and safe testing.
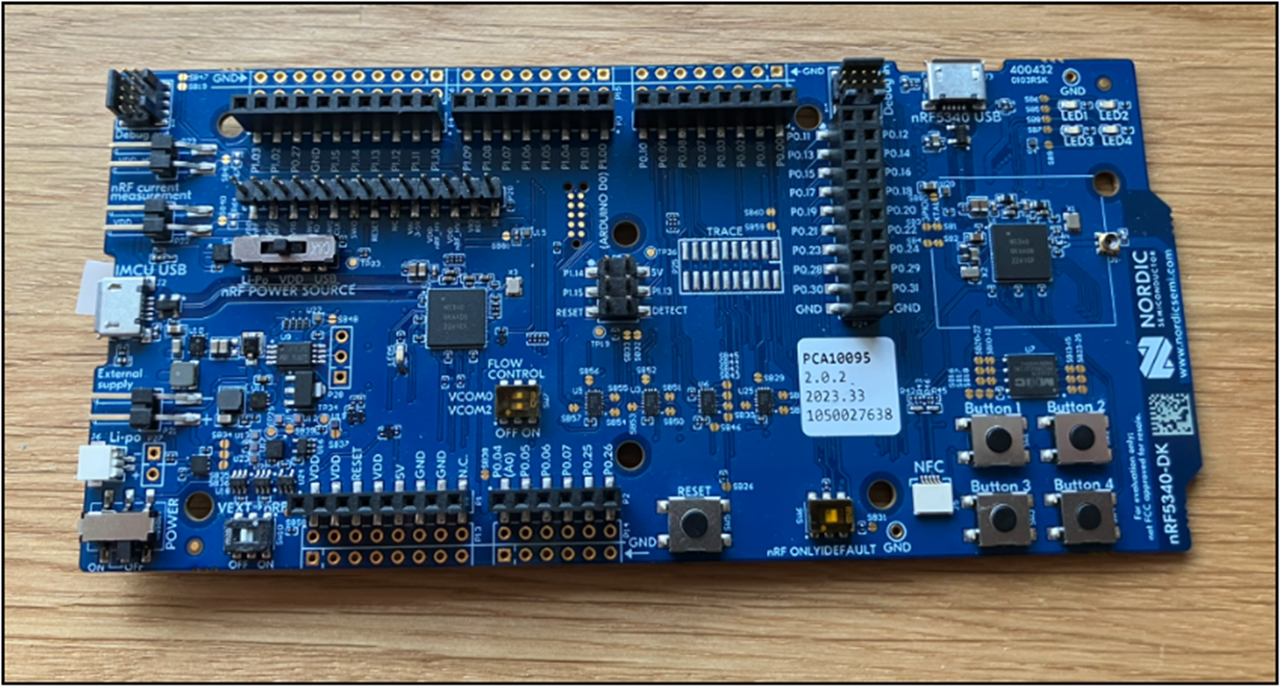
This dev kit (DK) has an on-board debug probe, so it can be reprogrammed more reliably than our USB dongle because we don’t have to preserve the USB bootloader. This model also lets us load Nordic’s larger example firmwares from the Zephyr project (a Real Time OS) or program it with more advanced custom functionality. We also have additional buttons and LEDs as input/output.
If you have the cash, I’d skip the smaller USB DKs from the previous post and buy one of these instead. You can use it with Nordic’s desktop apps the same as in the previous post, so there really isn’t much need for a dongle as well once you have one of these.
Sniffing the traffic
Now I don’t normally use the Nordic dev kits for my sniffing, I just use Sniffle as per the last post, but it’s *technically* possible, so let’s work through it here for the love of the game.
At the time of writing, Nordic supports their sniffing firmware on these dev kits:
- nRF52840 DK
- nRF52840 Dongle
- nRF52833 DK
- nRF52 DK
- nRF51 DK
- nRF51 Dongle
So, if you’re going to follow along, you will be stuck with the older NRF52 based boards. This is OK if, like me, you have a spare NRF52 USB dongle (like the one from my last post, so if you mistakenly bought one of them, I guess here’s a good end to it!) that you can dedicate to this. Beware, though, you will lose the USB bootloader and be unable to reprogram without a debug device. If you’re picking up a new full fat dev kit, however, and considering an nRF52 variant because it supports sniffing, I’d caution you – you may find it harder to install more advanced custom firmware down the line vs e.g. the nRF5340 DKs which have more memory etc.
Basically for sniffing, don’t go too hard getting it working on a Nordic DK when you could just buy a Sonoff dongle and follow the previous post’s instructions!
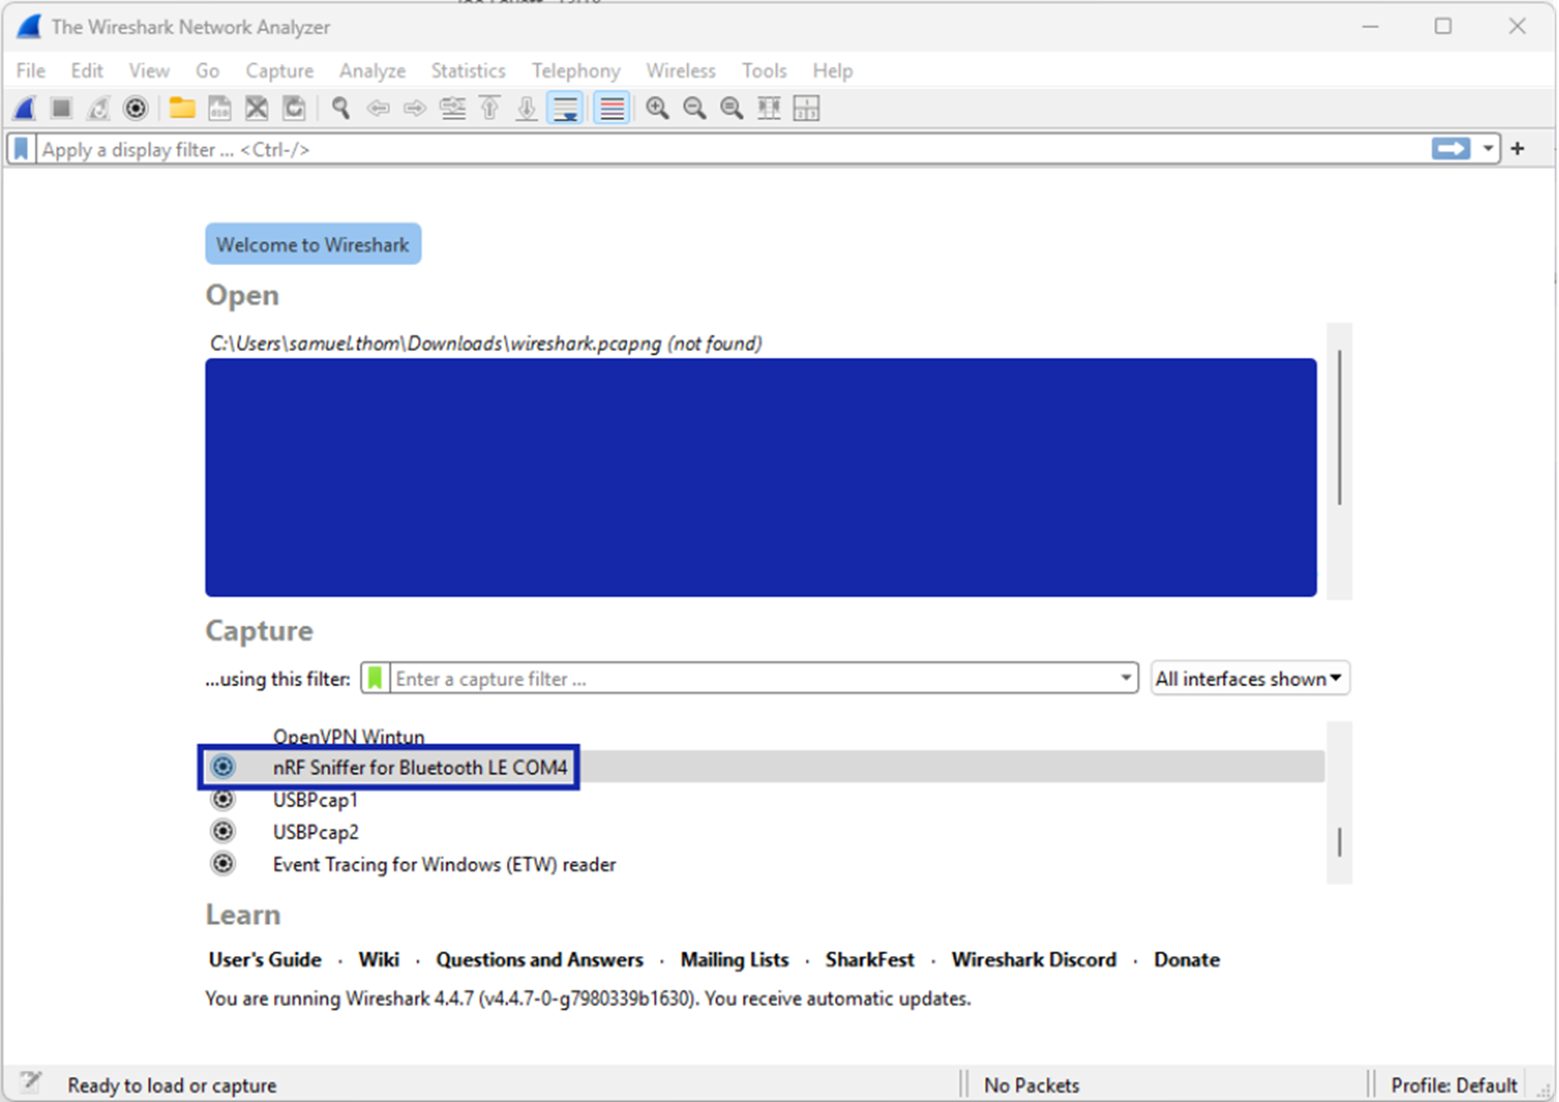
All that said, to get a Nordic dev board sniffing, you’ll need to install the Wireshark capture plugin and profile. Both steps are described here and here at the time of writing. When you’re done, you can open Wireshark and you should see your NRF device as a capture option (this is on Windows, wow!):
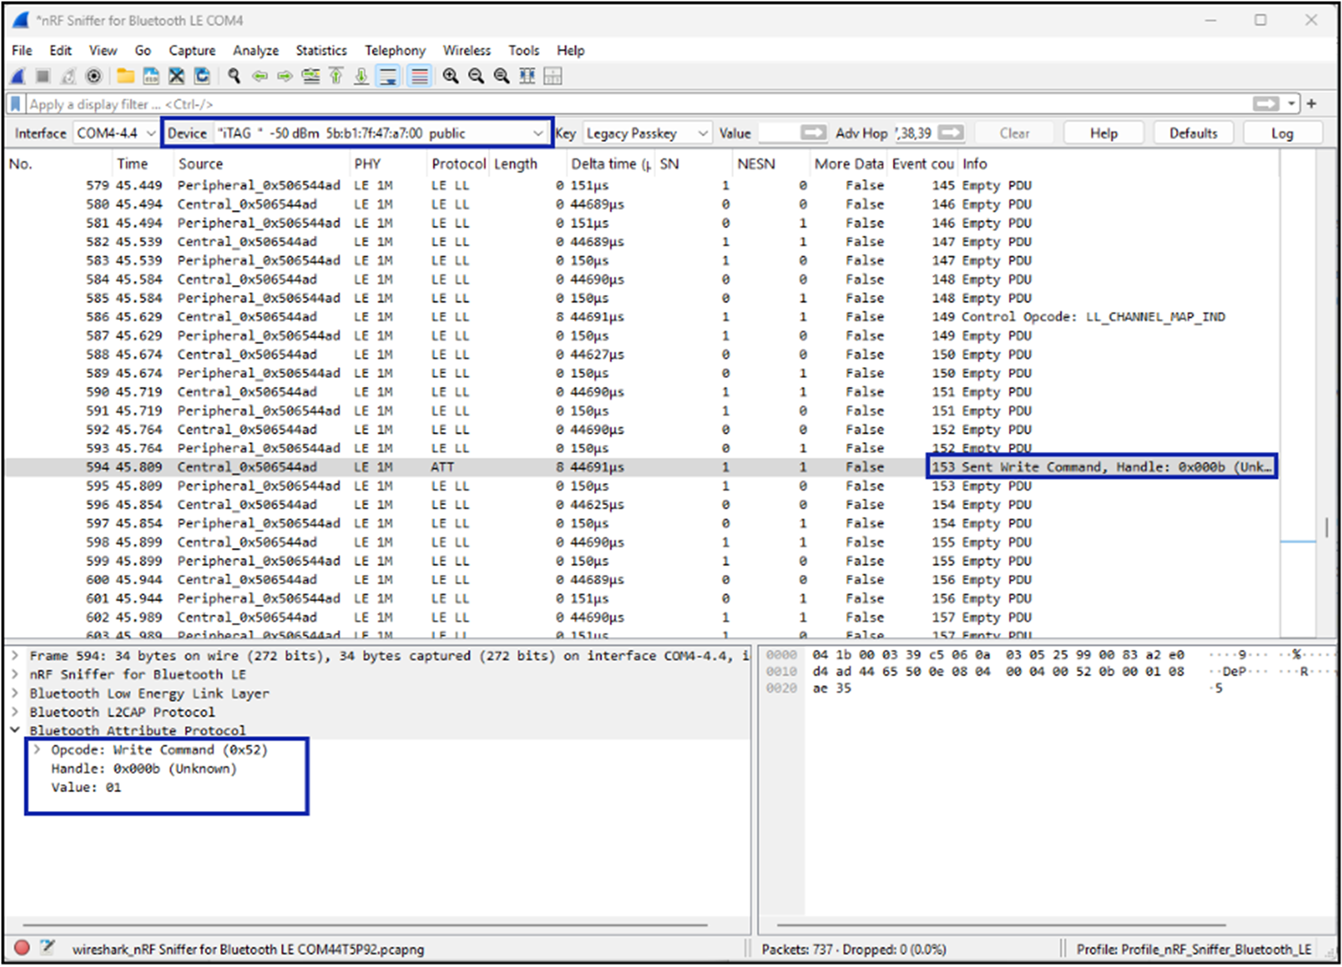
It’s important here to sniff for a while, ideally before you pair your device, because the Nordic devices seem to struggle to follow channel hopping as well as the Sonoffs. Once you see some advertisements for your target device, you can configure Wireshark to only sniff for that MAC using the Nordic sniffer plugin. This then makes the sniffer much more likely to be able to follow your device connections as it channel hops and identify those GATT writes we need to sniff.
Here we have selected my specific target device in the plugin banner, and the sniffer follows the connection from my test phone. We can then see the writes when an alarm is set in the mobile app:
And that’s it, the same result, if a little harder to work than the Sniffle. I’m not going to go into much more detail on using the nRF sniffer utility, but it deserves an honourable mention as the only real contender if you must sniff from Windows, an area where Sniffle is lacking.
If you skipped this and just used your Sniffle results, that’s how I work 99% of the time when I’m not restricted to Windows devices for some reason.
If you couldn’t help but buy that NRF52 dongle in the last post, perhaps making it into a sniffer could be a good end to it?
Controlling the Device With an nRF5340DK
Here’s the main meat of this post – let’s use the nRF5340DK to control the device! I’ve skipped all the installation of firmware for now (don’t worry, it’s at the end!), suffice it to say I have installed Nordic’s sample ‘Bluetooth shell’ application on the DK, which loads a small RTOS (Zephyr) onto the device. This application gives us a shell we can access on the main MCU USB serial port:
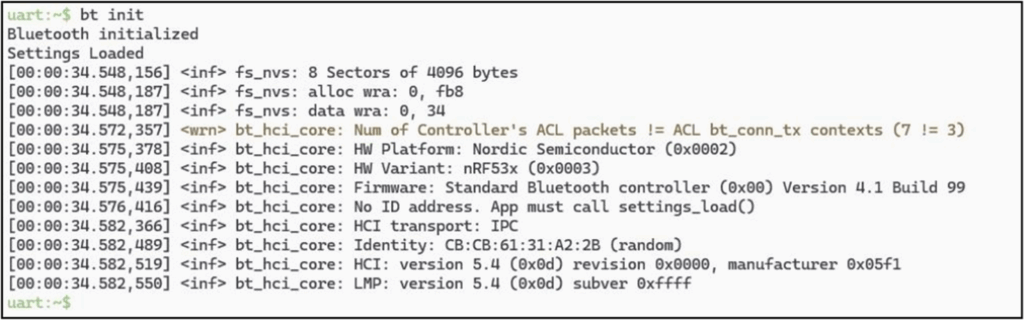
This firmware gives us that interactive shell I always wanted for Bluetooth hacking. To get started, you’ll need to initialise the Bluetooth stack (which runs on the DK network core):
Then we can scan for our device, filtering for its name and setting the RSSI to capture close-by devices only:

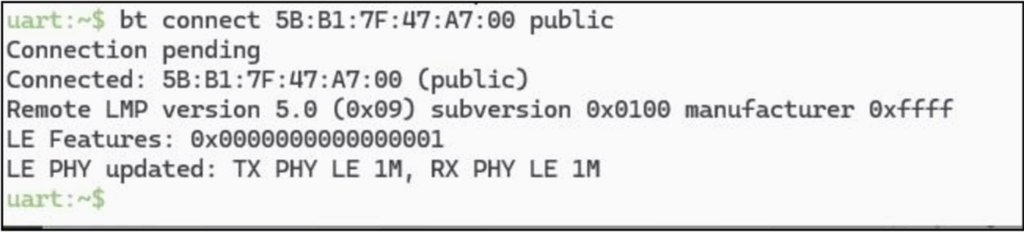
Setting RSSI to -40 will literally only work within an arm’s reach for these tags, which is nice if you have a lot of BLE stuff going on. Now we can connect to that device with a public address:
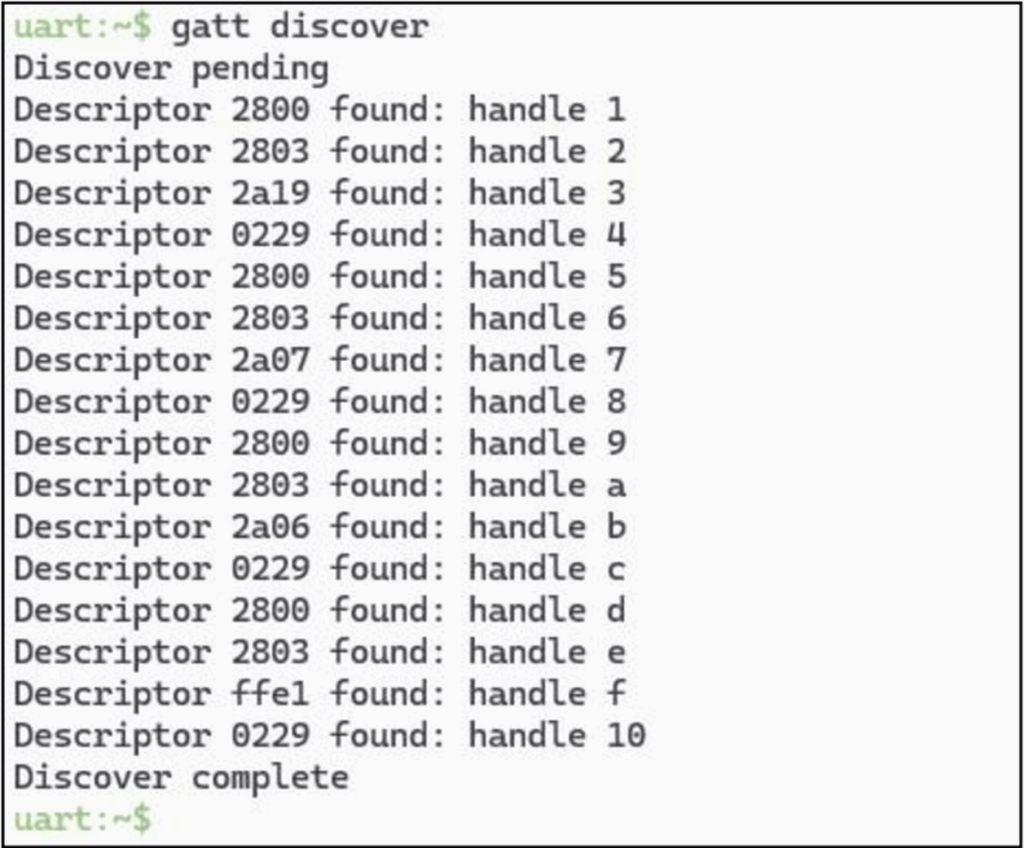
From there, we can discover the GATT and get all our descriptors and handle mappings, though this step is optional:
All that’s left then is to write to our handle:
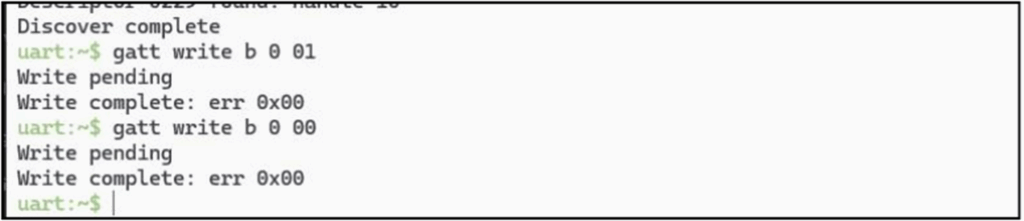
And it triggers the alarm!
Now I think that is a lot more familiar and easier to pick up for a lot of hackers vs the GUI method, and it requires a lot less messing about than Blatann, Gattool and Bluetoothctl. You can even script up our interaction using pyserial. Here I’m working from Windows, but Linux will work fine too:
import serial
import time

# Set your serial port here (e.g., 'COM3' on Windows or '/dev/ttyUSB0' on Linux)
SERIAL_PORT = 'COM29'
BAUDRATE = 115200

# Commands to send
commands = [
    "bt init",
    "bt connect 5B:B1:7F:47:A7:00 random",
    "gatt discover",
    "gatt write b 0 01",
    "BFSLEEP",
    "gatt write b 0 00"
]

def send_command(ser, command):
    print(f">>> Sending: {command}")
    ser.write((command + "\n").encode())
    time.sleep(0.5)

# Read output (until no more data available)
output = []
while True:
    if ser.in_waiting:
        line = ser.readline().decode(errors='ignore').strip()
        print(line)
        output.append(line)
    else:
        break
        print()

def main():
    try:
        with serial.Serial(SERIAL_PORT, BAUDRATE, timeout=1) as ser:
            time.sleep(2) # Wait for serial device to be ready

            for command in commands:
                # Sleep on our side while the DK works...
                if command == "BFSLEEP":
                    time.sleep(5)
                    continue
                send_command(ser, command)
                time.sleep(5) # Give the device time to act

    except serial.SerialException as e:
        print(f"Serial error: {e}")
    except KeyboardInterrupt:
        print(f"Keyboard interrupt received...")
You may be able to imagine this also being useful for scripting and fuzzing. You’re also free to replace the shell firmware with something completely custom if you wish too, which could do all the device fuzzing you want from a standalone DK.
The only slight downside with this setup is installing the BLE ‘shell’ firmware, it’s a bit of a bigger job than the last posts…
Installing Zephyr Projects on NRF dev kits
The best bet is to follow Nordic’s own install guide at your time of reading. Copy pasta is easier, though, isn’t it? So here it is – I did the below on Ubuntu, using a virtual environment because I’m building firmware irregularly. Health warning – the file permissions are rotten, and it may just not work for you, but I like being helpful:
sudo mkdir -p /opt/zephyr
sudo chown -R $USER:$USER /opt/zephyr
pushd /opt/zephyr

# Get nrfUtil if you don't already
sudo wget https://files.nordicsemi.com/ui/api/v1/download?repoKey=swtools&path=external/nrfutil/executables/x86_64-unknown-linux-gnu/nrfutil&isNativeBrowsing=false -O /usr/local/bin/nrfutil
sudo chmod 0755 /usr/local/bin/nrfutil
nrfutil install device
nrfutil install completion
nrfutil completion install zsh
nrfutil completion install bash
wget https://github.com/NordicSemiconductor/nrf-udev/releases/download/v1.0.1/nrf-udev_1.0.1-all.deb -O nrf-udev_1.0.1-all.deb
sudo dpkg -i nrf-udev_1.0.1-all.deb

# You may need Segger installed, let's do that anyway
sudo mkdir -p /opt/segger
sudo curl -X POST https://www.segger.com/downloads/jlink/JLink_Linux_V818_x86_64.deb --data-raw 'accept_license_agreement=accepted&submit=Download+software' -o /opt/segger/JLink_Linux_V818_x86_64.deb
sudo dpkg -i /opt/segger/JLink_Linux_V818_x86_64.deb

# Main install
sudo apt install --no-install-recommends git cmake ninja-build gperf \
ccache dfu-util device-tree-compiler wget \
python3-dev python3-pip python3-setuptools python3-tk python3-wheel \
xz-utils file make gcc gcc-multilib g++-multilib libsdl2-dev libmagic1 \
python3-venv ninja-build -y
python3 -m venv /opt/zephyr/.venv
source /opt/zephyr/.venv/bin/activate
pip install west
west init /opt/zephyr
west update
west zephyr-export
pip install -r /opt/zephyr/zephyr/scripts/requirements.txt

# Install the zephyr project SDK into /opt, rather than $HOME
wget https://github.com/zephyrproject-rtos/sdk-ng/releases/download/v0.16.0/zephyr-sdk-0.16.0_linux-x86_64.tar.xz
if wget -O - https://github.com/zephyrproject-rtos/sdk-ng/releases/download/v0.16.0/sha256.sum | shasum --check --ignore-missing ; then
    echo '[+] SDK downloaded OK.'
    tar xvf zephyr-sdk-0.16.0_linux-x86_64.tar.xz
    # Now actually move it into /opt
    sudo mv zephyr-sdk-0.16.0 /opt
    pushd /opt/zephyr-sdk-0.16.0
    ./setup.sh
    # Apply udev rules
    sudo /opt/zephyr-sdk-0.16.0/sysroots/x86_64-pokysdk-linux/usr/share/openocd/contrib/60-openocd.rules /etc/udev/rules.d
    sudo udevadm control --reload
    popd
else
    echo '[!] SDK download checksum failed. You are on your own, sorry...'
fi
popd # In case you were doing something beforehand - you're welcome
Now you can test that installation before we go any further. Plug in your Nordic/Zephyr board and check it’s supported:
west boards Then let’s flash a test project to flash the onboard LED:
# Remembering to source /opt/zephyr/.venv/bin/activate if you opened a new terminal
pushd /opt/zephyr/zephyr
# For me - west build -p always -b nrf5340dk/nrf5340/cpuapp samples/basic/blinky
west build -p always -b <your-board-name> samples/basic/blinky
west flash
popd
Then you should get blinks on the physical board!!
If that worked, installing our NRF shell on the board is just as simple:
# Remembering to source /opt/zephyr/.venv/bin/activate
pushd /opt/zephyr/zephyr
# For me - west build -p always -b nrf5340dk/nrf5340/cpuapp tests/bluetooth/shell
west build -p always -b <your-board-name> tests/bluetooth/shell
west flash
popd
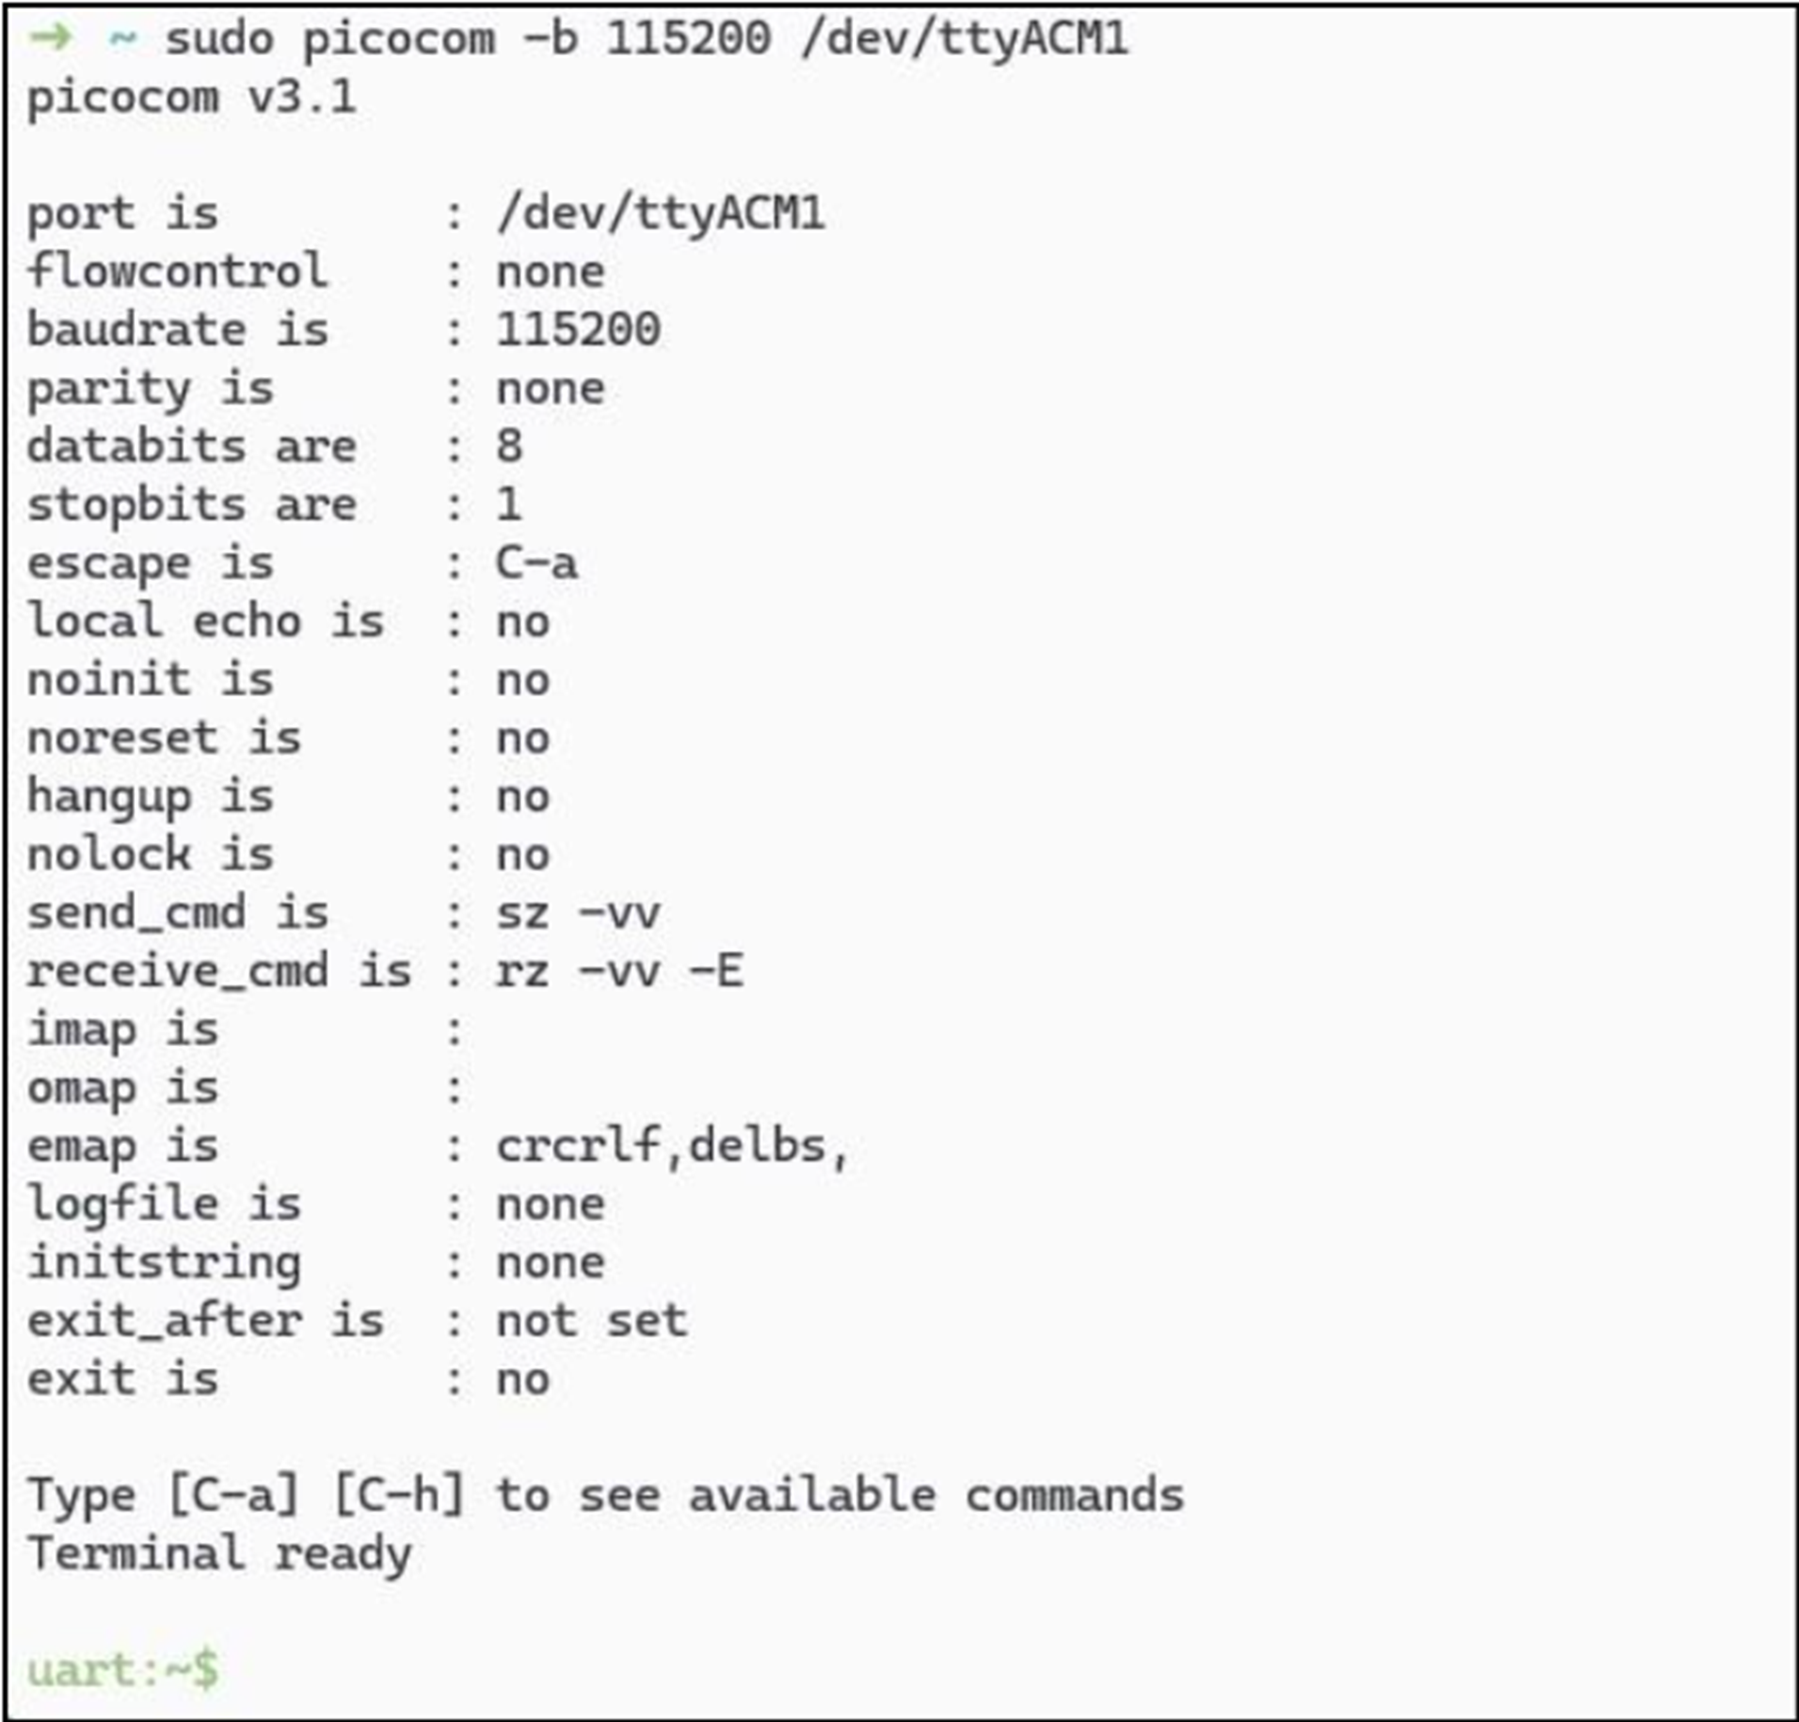
# My device is on /dev/ttyACM1
sudo picocom -b 115200 /dev/ttyACM1You may have had problems initialising Bluteooth with bt init, if so, this probably means you need to flash a network core firmware, in my Nordic dev kit I had a completely blank net core, so I flashed a basic hci-ipc app to that from the test’s directory:
# Remembering to source /opt/zephyr/.venv/bin/activate
cp samples/bluetooth/hci_ipc ./my_hci_ipc
echo "CONFIG_BT_EXT_ADV=y" >> prj.conf
echo "CONFIG_BT_PER_ADV=y" >> prj.conf
west build -p always -b nrf5340dk/nrf5340/cpunet .
west flash
And voila! We have a working and accessible shell.
Look forward
There’s still so much to learn, and then there’s Bluetooth Classic, which you may come across. Similarly, some communications may be two-way requiring some handshaking between devices to make them do stuff.
This was a very simple case, but hopefully you got the devices to trigger and had some fun, that’s the main thing! Want more? Why not try to write a custom firmware that triggers the beep when you press the GPIO buttons?
Happy Bluetooth hacking!


