A true story on taking over a client’s Azure tenant via a successful phish.
TL;DR
A tempting phish got lots of users to disclose their passwords, and a lack of training resulted in the victims accepting the Microsoft push-based multi-factor authentication.
This resulted in gaining access to Slack, Atlassian and Azure, which resulted in a total becoming an Owner of a victim-funded subscription.
Part 1 – Reconnaissance
The most important part of any phishing attack is reconnaissance — “Every cyber battle is won before it is fought” (SunTzuCyber).
Important things to find:
- Email addresses.
- Who works there, does what and where.
- Operating hours and office locations.
- Domains and subdomains.
- Publicly accessible portals and services.
Email addresses and personnel details
Email addresses can be found with a number of tools such as ‘theHarvester’, ‘SimplyEmail’, ‘recon-ng’ (and many more) but one of my favourite methods is LinkedIn scraping. The concept is simple, you either use a tool to pull users working at the target organisation, or you get your hands dirty and use a puppet account to search LinkedIn.
You can also use some Google-fu to bolster your results by doing the following.
Search Google with site:linkedin.com intitle:”- Company Name | LinkedIn”, which gives you something like this:
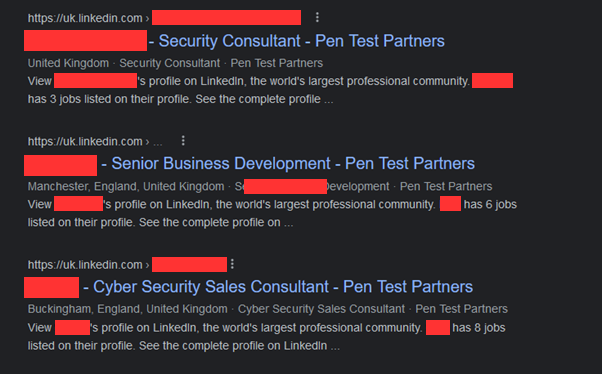
Figure 1 – Google results
Note: some users will hide their last name, but LinkedIn will disclose this via their username in the URL. Joe B. = josephbloggs.
- Click on ‘Settings’ and change ‘Results per page’ to 100.
- Select all, copy and paste each page into a document (I suggest using Nano as it’s the best).
- Grep-fu time!
- cat document.txt | sort -u | grep ” › [[:alpha:]]” # This is to get the usernames for those that would attempt to hide their last name.
- cat document.txt | sort -u | grep ” – Target” | cut -f1,2 -d”-” # This gives you their names and job roles.
- cat blog.txt | sort -u | grep ” – Target” | sed ‘s/\-.*//’ # This gives you just names
- cat blog.txt | sort -u | grep ” – Target” | sed ‘s/\-.*//’ | grep -v ” [[:upper:]]\.” # This removes those users without a full last name.
You can then use your favourite tools to turn those names into email addresses that match your target’s email naming convention.
Domains, subdomains, and portals
You want to ensure that the payload of your phishing email welcomes its victim with a warm hug of reassurance and familiarity – you do not want to send a link to an Office 365 phishing page when they strictly use Google.
In the same fashion, you do not want to send your emails from [email protected] when their naming convention is [email protected]. You want to match their format and style as much as possible, but sometimes that may not be possible as companies will squat on similar domains to preserve them.
I won’t repeat countless blog posts and online resources that detail how to recon domains and subdomains. The main thing you need to focus on is buying a decent domain that looks similar and doesn’t have bad reputation. Consider yourself blessed if you come across an old domain that’s been around the block.
In this assessment we identified that the client had various online services such as VPN portals, Citrix, and made heavy use of Office 365.
Part 1 – Conclusion
With all the recon completed, we bought a suitable domain, fashioned a believable and relevant email with a link to a phishing portal that resembled one of their online access portals. You can attempt to reduce your digital footprint with the following points:
- Educate users on the importance of not oversharing.
- Do not post sensitive documents, pictures of internal buildings or lanyards.
- Reduce social media visibility, make accounts private or semi-private, at least.
- Separate your social and professional lives on social media.
- Review public DNS records
- Check published DNS records and review if those records and systems / services are necessary.
- Review your public IP addresses to identify legacy portals, web servers, and such.
- Perform security assessments
- External infrastructure tests.
- OPSEC / OSINT assessments.
Part 2 – Cloud compromise
Initial access
Fortunately for me, one user in particular had disclosed their password via the phishing site, but the client had enforced MFA; unfortunately for them they had chosen Microsoft’s push-based MFA. The user had approved the login request, which could be attributed to good timing and a lack of user training on the solution. This happens more often than not and is usually the begin of the end.
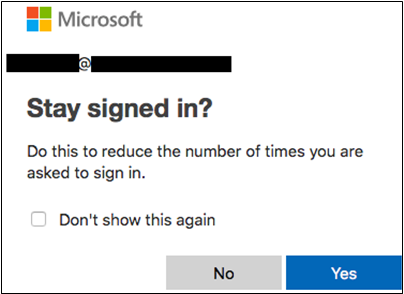
Figure 2 – Approved login
Recon and horizontal movement
This user did not have anything useful in their inbox so I moved on and roamed around Office 365 using various apps, seeing what access I had and what files I could find. Delve was enabled, which allowed me to find some documents but nothing useful this time.
Delve is a great tool as it allows you to search for any files that you have been intentionally and unintentionally given access to across Office 365. For this reason, we recommend that it is disabled.
Partly due to default configurations (covered here) and misconfigurations, users were able to use some apps that they shouldn’t have been able to… For example, I was able to access the Azure portal, Slack, BitBucket and Jira, all of which were meant to be restricted to IT, developers, and the like.
Office 365 integrated apps
Accessing these applications was as easy as clicking on the dropdown in Office 365, clicking the app and then following the account creation w/ single sign-on. Now I have access to their tickets, documentation, source code and internal communication channels!
I used this access to trawl through these resources to capture vital information and then used my Slack access to keep tabs on the IT and Security departments.
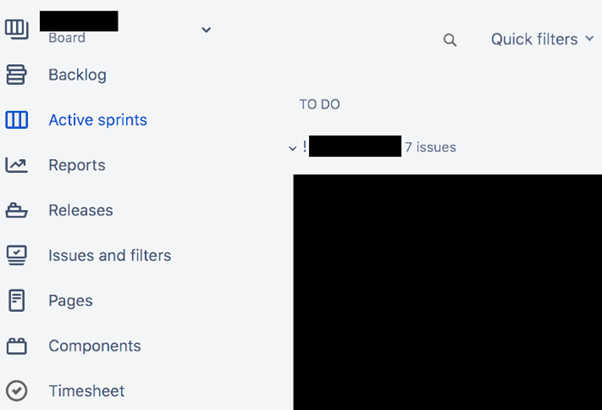
Figure 3 – Jira access

Figure 4 – Slack access
Azure
Accessing Azure as a standard user is as simple as browsing to https://portal.azure.com. Done. There is a setting in the aforementioned blog that supposedly removes the ability for non-admins to use the portal; however, this merely blocks access to the web application, you can still communicate with the back-end APIs.
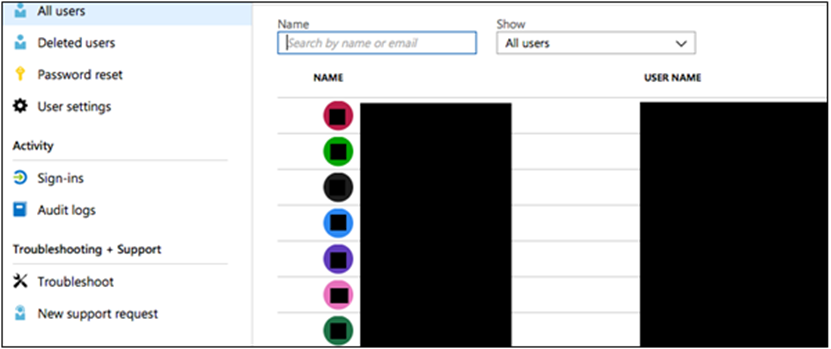
Figure 5 – Listing Azure AD users
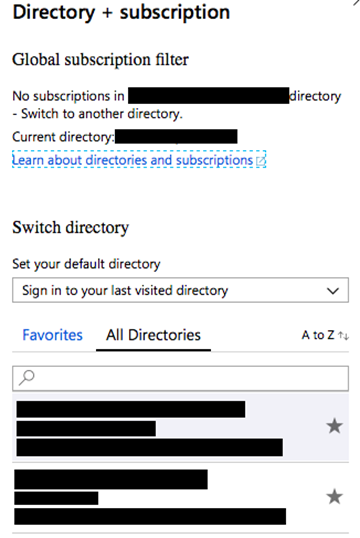
Figure 6 – Multiple directory access
There are tonnes you can do in this space, but I will only include a small portion. From previous experiences, any Azure AD user can sign up the organisation to a trial version of Azure without specifying card details if the current tenant already has subscriptions such as Office 365 but does not use Azure. This will automatically give your account Owner RBAC permissions to the new subscription.
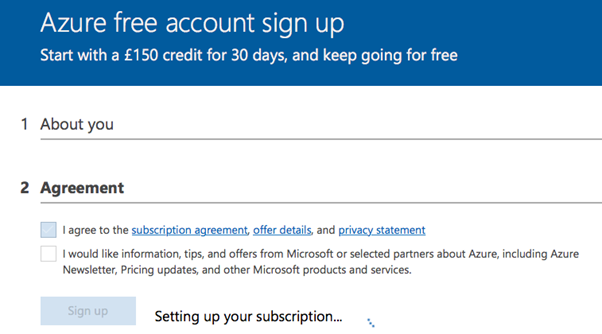
Figure 7 – Azure trial as non-admin user
If I remember correctly, you need to have a backup phone number on your Azure AD account to do this and that’s exactly what I did.

Figure 8 – Configuring phone verification
Congratulations, you are now the proud owner of a subscription inside the target’s tenant that you don’t need to pay for. You could leverage this to farm crypto, launch further attacks against your target and others from a VM that doesn’t trace back to you.
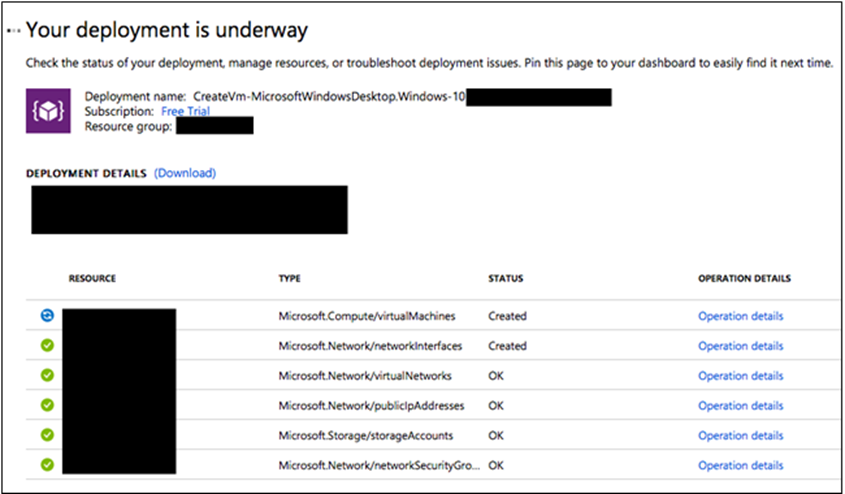
Figure 9 – Creating VMs
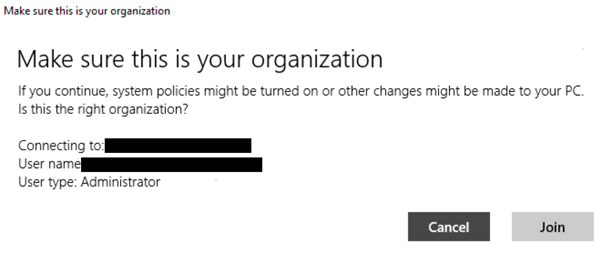
Figure 10 – Domain joining to Azure
Part 2 – Conclusion
Hopefully this post has highlighted how a single phished Azure AD user can lead to compromise without the use of complicated zero days or attacks. Azure and Office 365 customers should secure their environments by following best practices, taking recommendations from blogs, and conducting security assessments. A few simple steps to secure your environment(s) would be:
- Review O365 / Azure apps. What apps are enrolled and who can access them?
- Review Delve and remove sensitive files or secure their permissions. Is Delve required or can you disable it?
- My recommendation would be to restrict the use of push-based MFA; however, not everyone in the industry would agree.
- Provide user training on MFA and awareness of social engineering attacks.
Please note that this assessment was not conducted recently; however, the content is still relevant and applies to Azure at the time of writing.

