A tweet from Cory Doctorow reminded me that we hadn’t written up our firmware extraction and destruction of Samsung’s Smart Family Hub refrigerator. So here’s how to pull the firmware and destroy a $2500 fridge in the process.
You’re going to need: a Dremel tool, some sharp knives, a soldering iron, hot oven, laser rework station, x-ray machine and logic analyser.
FYI we have two units– one to destroy disassemble, one to test our findings on.
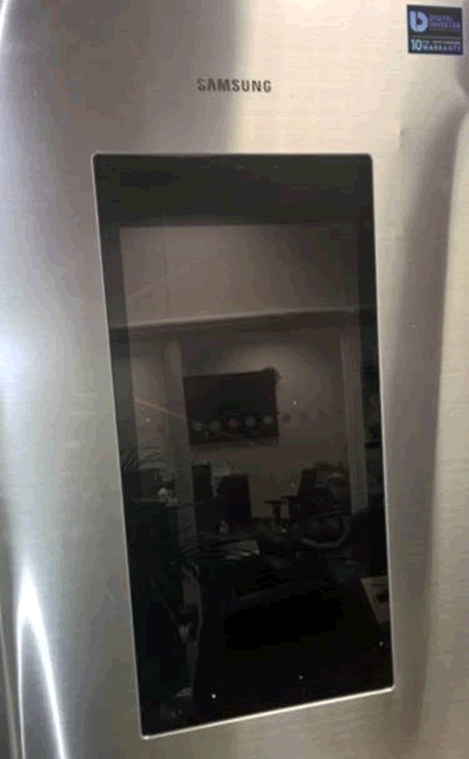
I love the concept of having a camera inside the fridge. It means that one can see what’s inside the fridge on the screen on the outside. Wow, $2500 for the privilege of not opening the door (there’s also a mobile app so you can view the contents remotely) ?
The embedded web browser in the door is also great for cheeky haxor types to display unsavoury content in retail stores.
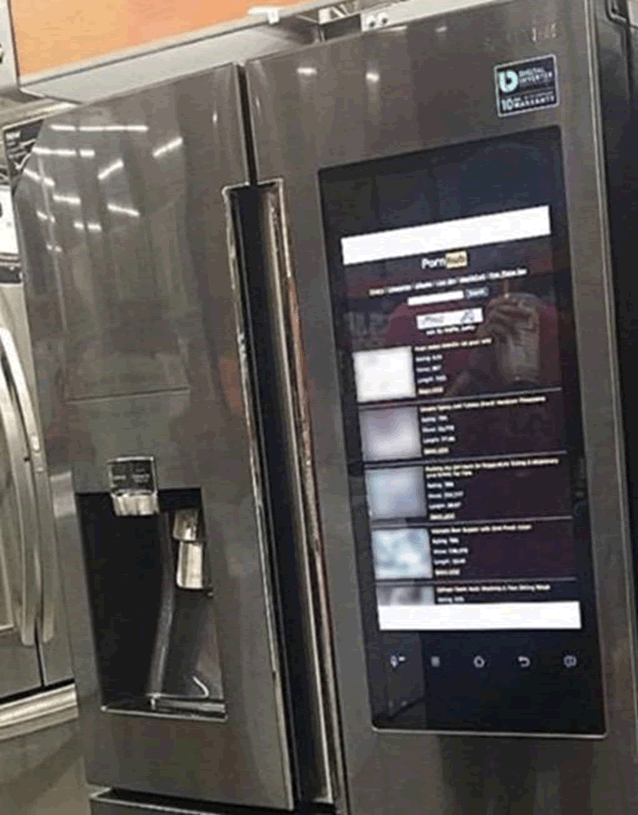
We think it was John McAfee who took this photo, but please correct us if you know better.
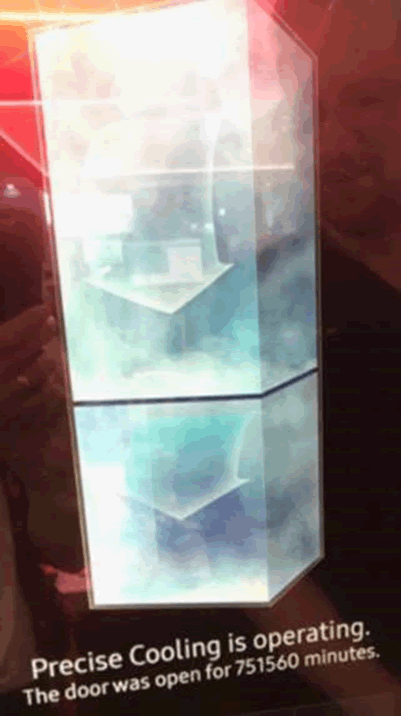
We also had some weirdness with ours, defaulting to the epoch. No idea what’s up with that as we had set the correct time.
We had spent three days at DC24 working on the same fridge at the IoT Village. Having already pwned the previous fridge version at DC23 we thought we were on to a winner. We failed miserably despite trying everything we could think of, though we weren’t allowed to dismantle their fridge to reverse the hardware as it was on sale or return!
This festered for a year, until we got hold of the same fridge in the UK. We wanted the firmware, so got started:
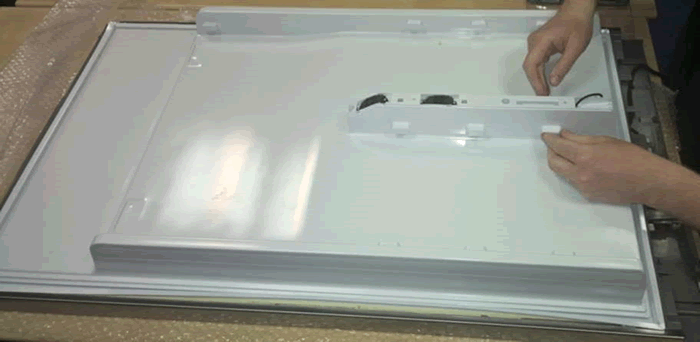
Prising the screen out of the door didn’t work, it transpired that it was moulded in place. That would make for an expensive replacement if it failed under warranty.
So then we decided to go through the back of the door, after removing it from the fridge body. Make sure you detach all of the cables before doing so!
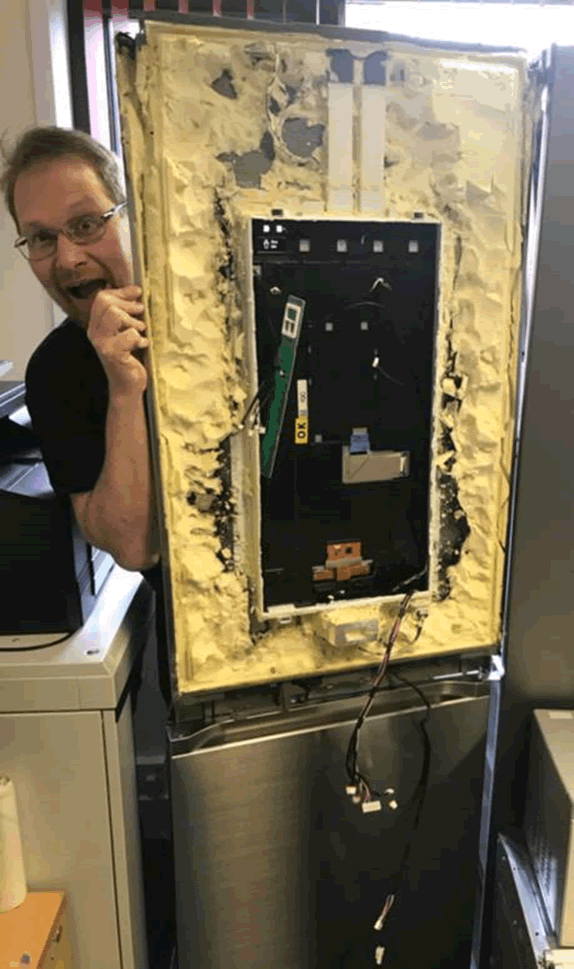
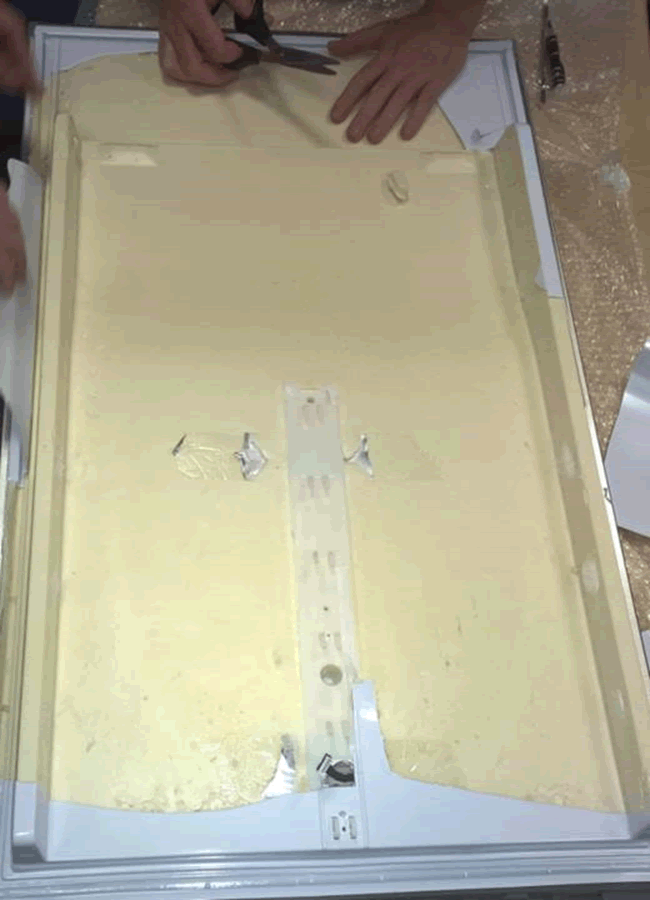
First, you need to remove the inside of the door, mostly using extreme prejudice.
Next, the foam insulation needs to be removed. This was horrendously messy, blocked our vacuum cleaner and filled numerous waste sacks. Dave and I were not popular in the office…
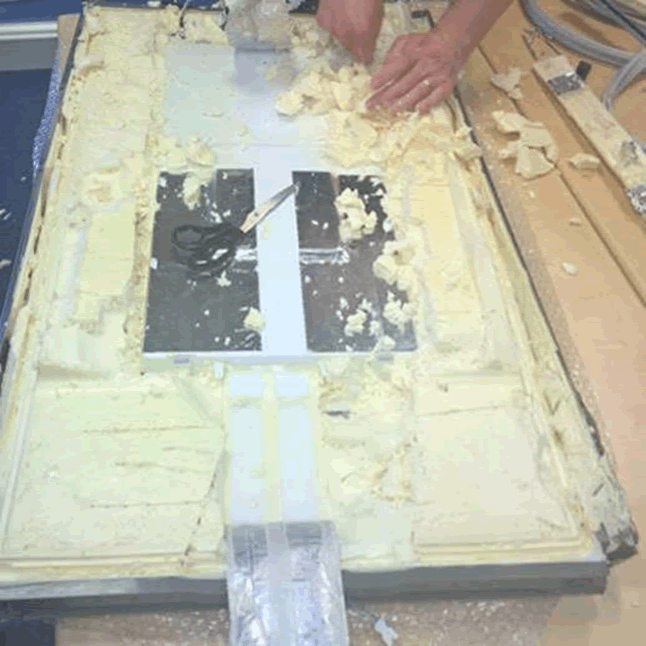
Once the insulation is removed, you’ll see a solid plastic backing to the screen module. We tried to remove it carefully, but the insulation was moulded in place, so time for the Dremel:
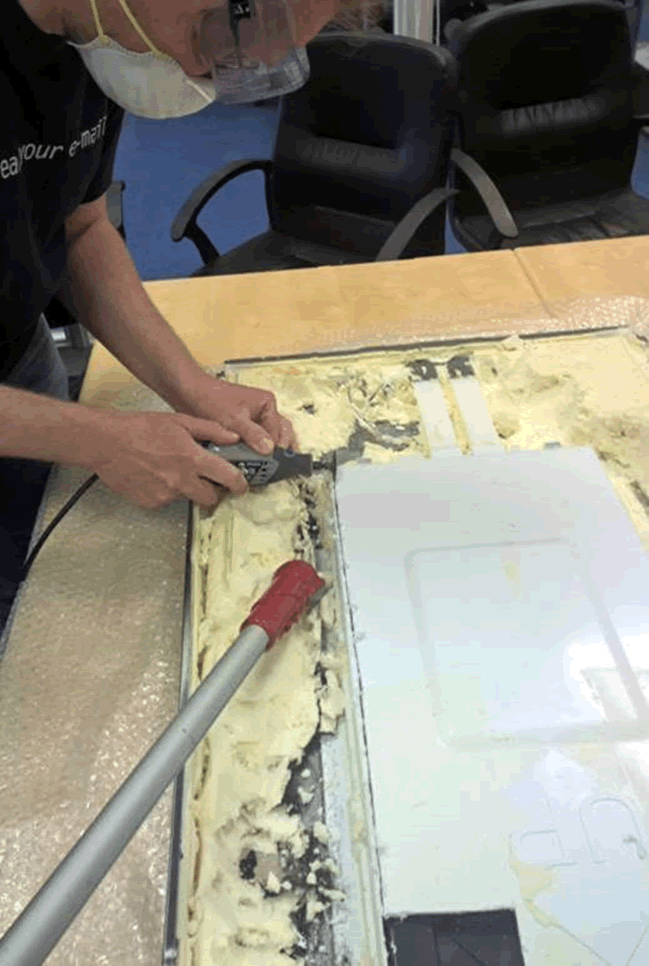
Take real care, as it’s very easy to go too deep and damage ribbon cable or the board itself.

Once the plastic backing was removed, we had access to the board.
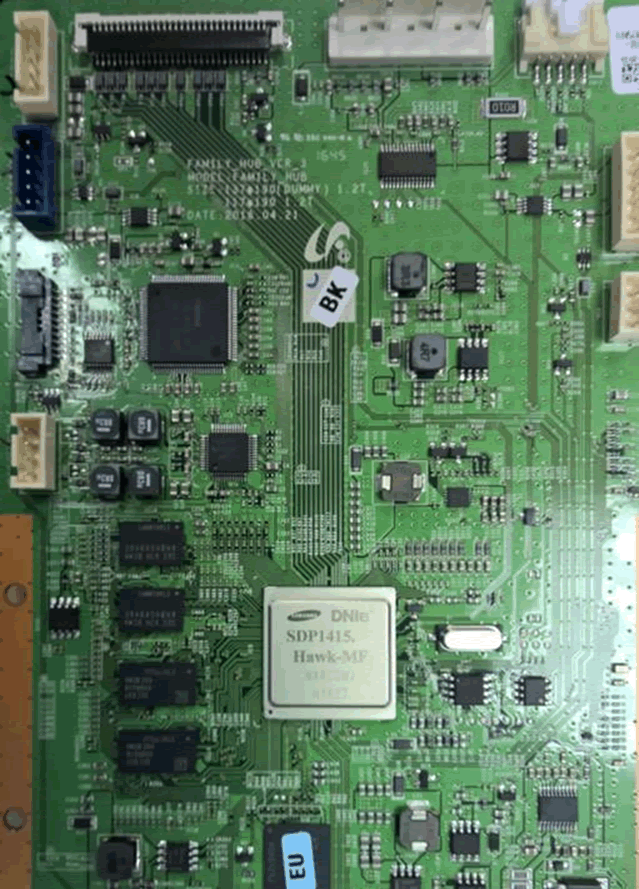
This looks very like a Samsung smart TV board. If you’ve worked on their TV hardware, you’ll probably recognise it.
After some component analysis, we determined that the firmware was stored on the flash memory highlighted below.
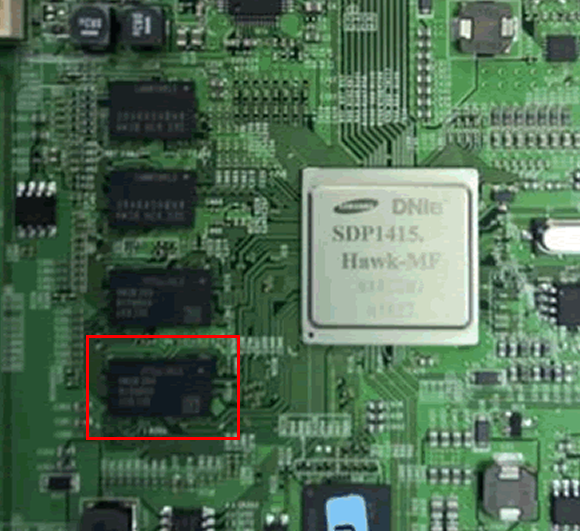
Damn, BGA packages.
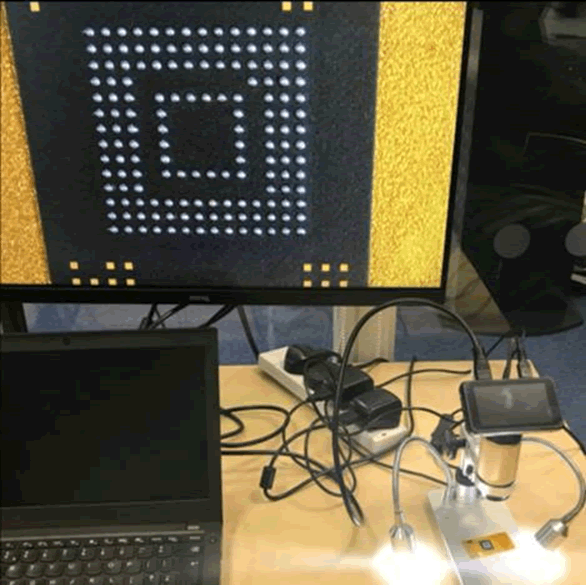
We reball BGA ourselves as required, but the consequence of damaging a memory module in the process would be another $2500 fridge. So, we sent it off to the good people from @RetronixUK to be laser reballed.
The results were really good. Here’s a close up of the CPU underside.
We still hadn’t identified the JTAG interface though, so had the chip x-rayed so that we could see the via to ball mappings and deduce JTAG.
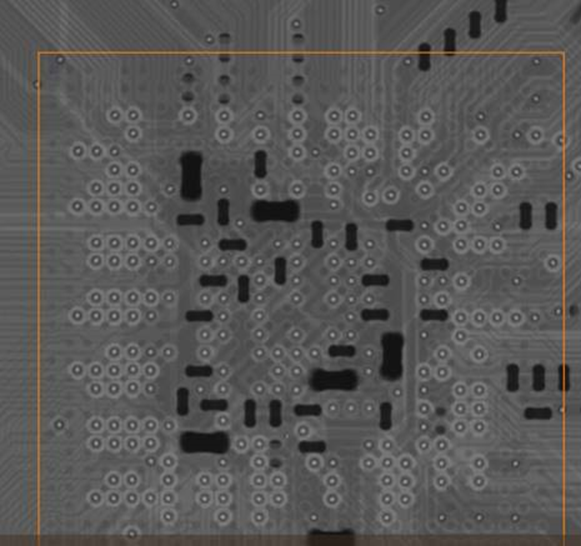
Boom. Firmware read!
Part 2 of this blog will be firmware analysis. Hope you’re enjoying the process as much as us.
Unfortunately the fridge doesn’t work so well any more. @tautology0 is clearly very pleased with his work!