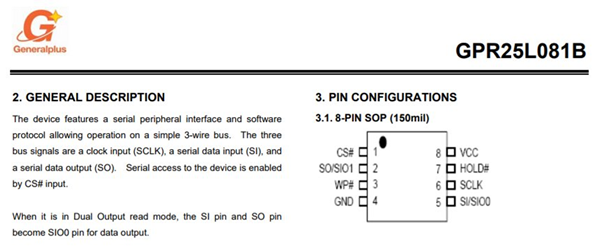
I’ve just acquired the new Furby Connect from Hasbro, and well, she’s getting torn down.
She still works, despite being dismantled.
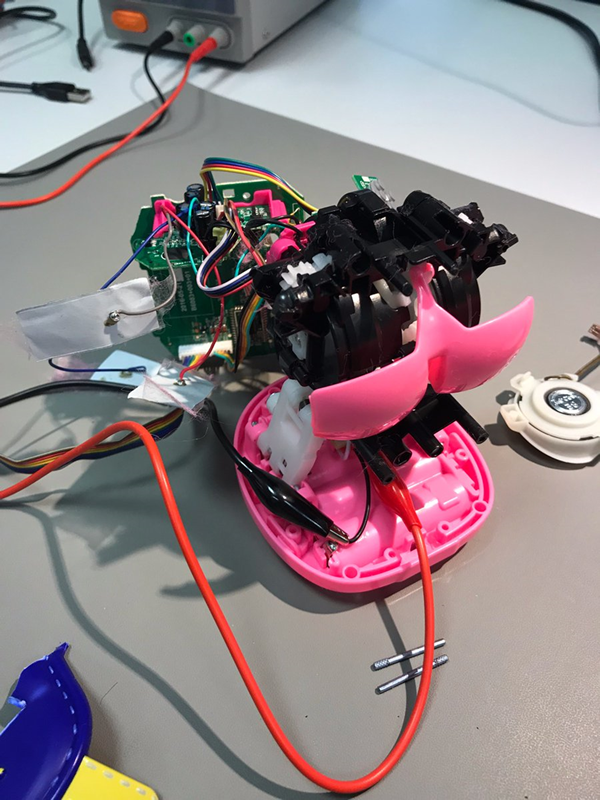
Two LCD panels for the eyes. Nice and bright, reasonable resolution.
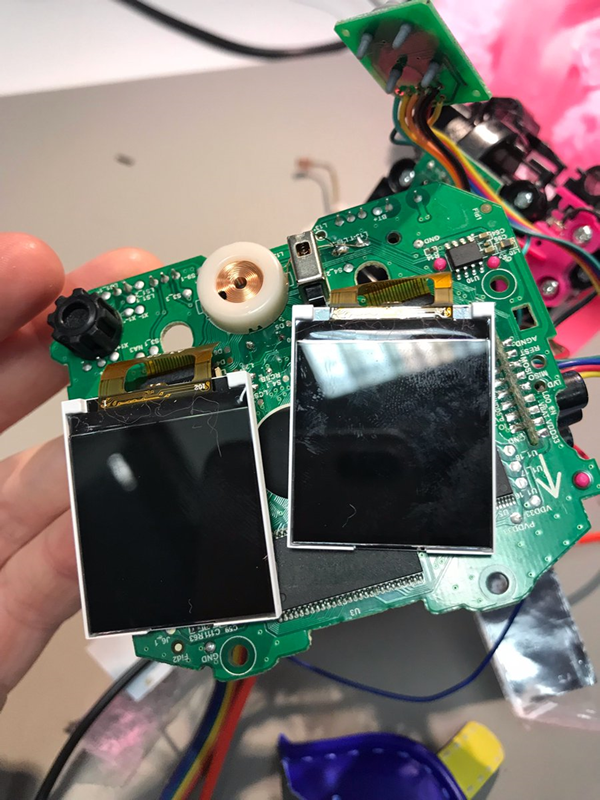
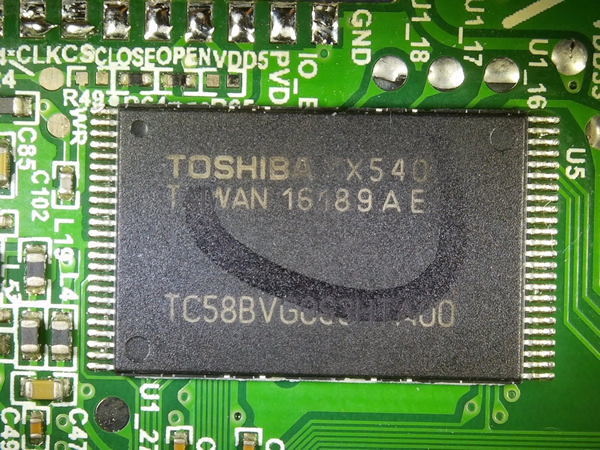
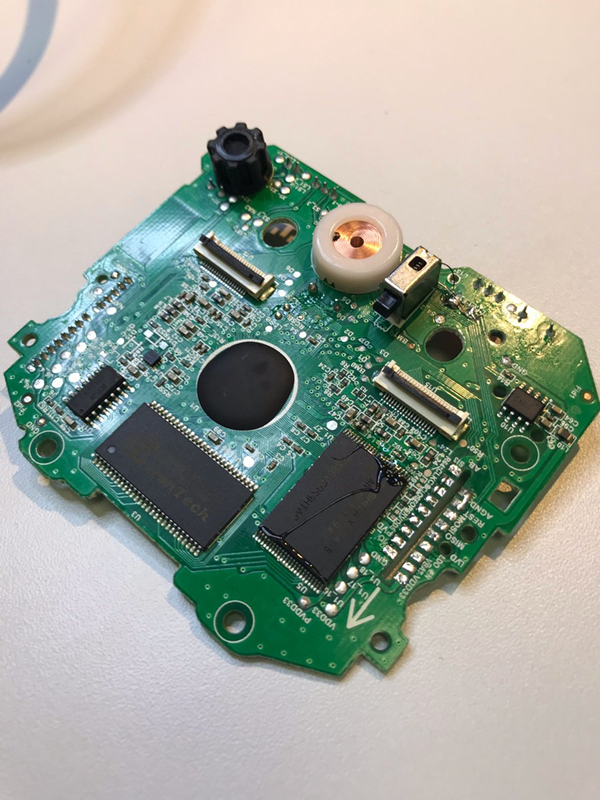
Under that we have the processor (blob-on-board), a 8Mx16bit external SDRAM, and a NAND flash that I haven’t looked up yet. Interesting design, more resources than previous devices.
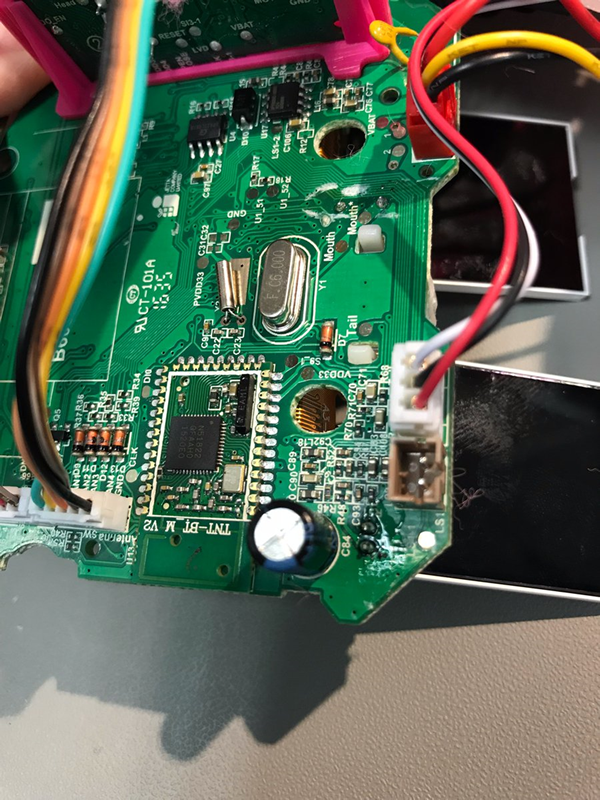
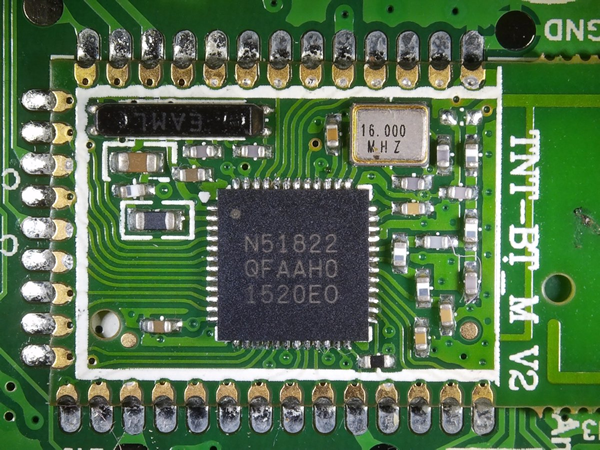
Other side of the board, we have the Bluetooth module. nRF51822 based, don’t recognise the module. Two crystals – the smaller one suggests there is an RTC onboard.
These are capacitive touch sensors, I suspect. But I didn’t see it whilst it was in one piece…
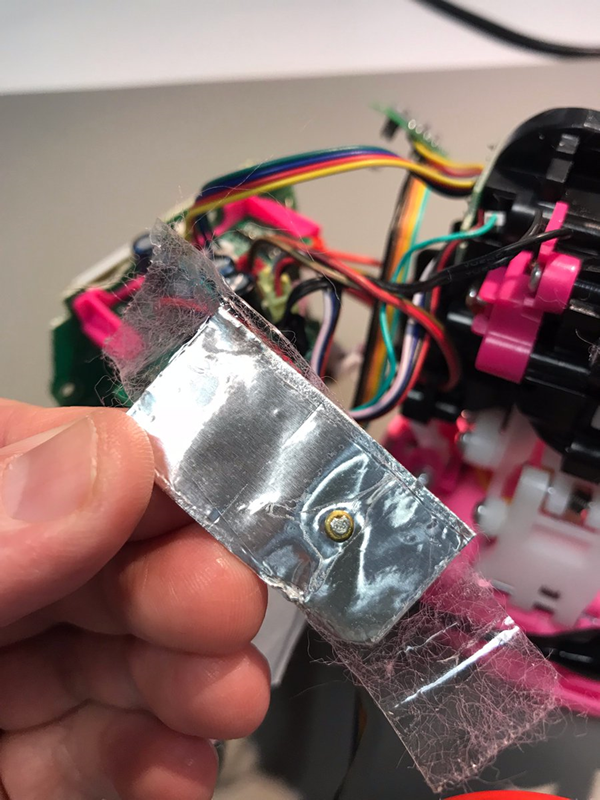
This is interesting though. You can put a mask on her (not sure why…) and the socket has 8 pins going to the main PCB.
Ripping open the plastic on the mask uncovers this mostly unpopulated PCB. Space for a SOIC8.
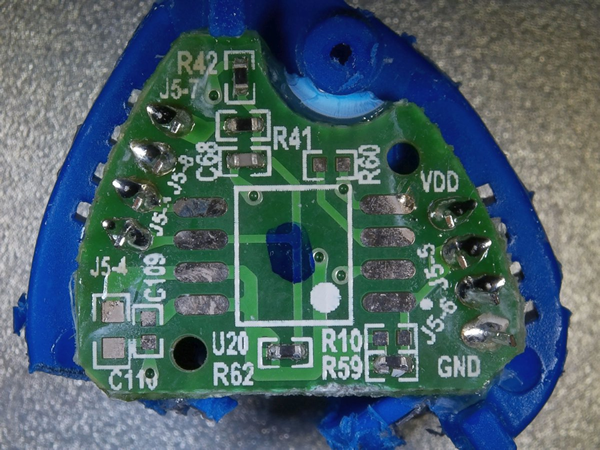
Ripping open the plastic on the mask uncovers this mostly unpopulated PCB. Space for a SOIC8.

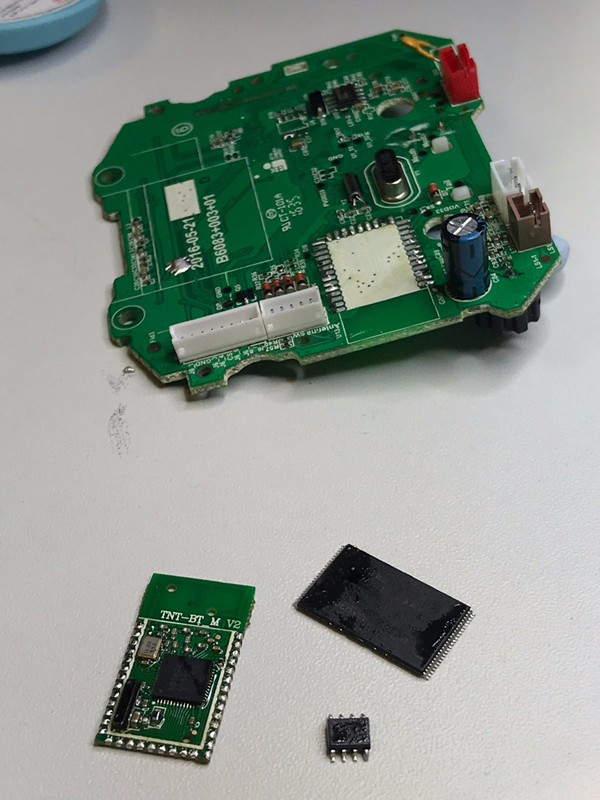
Close-up of Bluetooth module. Should be able to get a firmware pull from this.
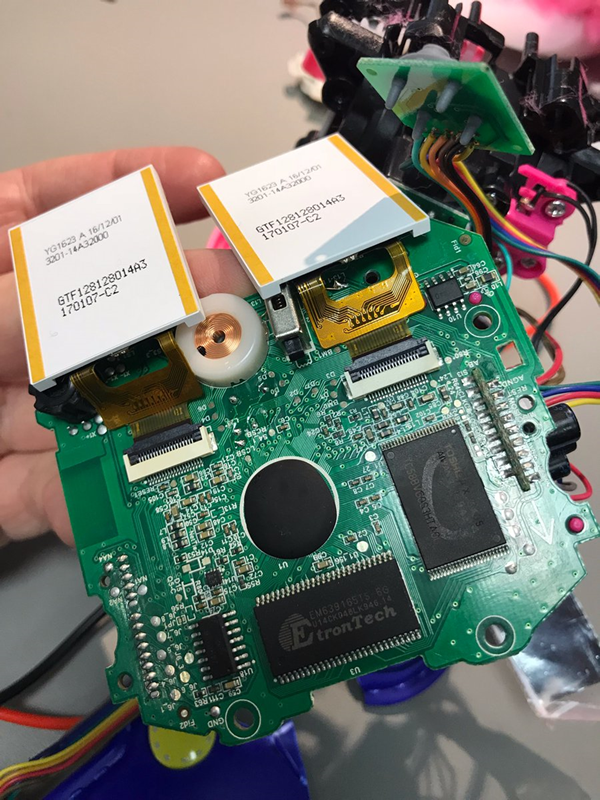
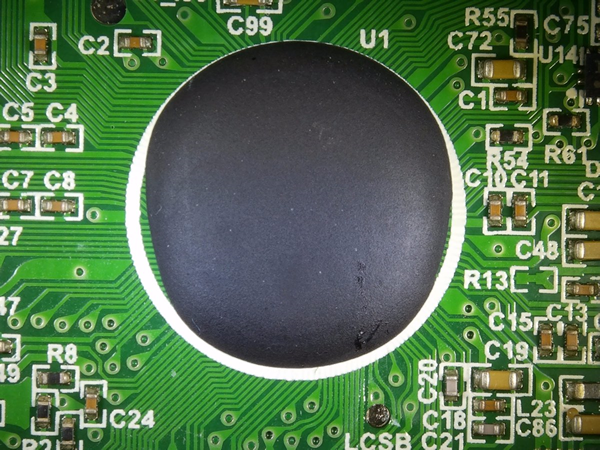
Blob-on-board. It’s a big one – not used to seeing external SDRAM and flash one one of these.
Main external NAND flash. Pretty standard 1Gbit part. Will desolder later to read it.
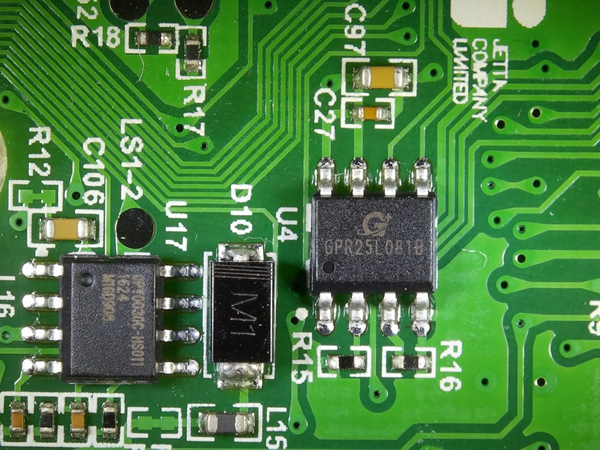
But we also have an SPI flash as well. GeneralPlus http://www.generalplus.com/pLVfLN656SVpfSNnormal_download (opens PDF).
Desoldered the motor board so I can lay it flat. Now for some desoldering. Not got a hot-air tool so going to use ChipQuik.
Yes, I have a Metcal and no hot air tool. Things in wrong places at wrong times.

A little bit of work later and we have NAND flash, SPI flash and the Bluetooth module off. Next, up reading the SPI flash as it is easiest.
First, let’s just double check the pin-out is normal SPI flash. There are some that aren’t standard.